How to Make a Homemade Leave-In Hair Moisturizer
You can make a homemade leave-in hair moisturizer by mixing water with a light conditioner or natural oils. Shake well, spray on damp hair, and leave it in. Choose ingredients based on your hair type.
🌿 Aloe + Rosemary Leave-In for Hair Growth


4
This lightweight spray supports scalp circulation and hydration. While no DIY product can magically grow hair overnight, this combination helps reduce breakage and supports healthy follicles.
Why It Works
- Aloe vera gel – Hydrates scalp and reduces irritation
- Rosemary water – May stimulate follicles and improve circulation
- Argan oil – Adds shine and smoothness
- Lavender oil – Calms scalp and may support healthy growth
Ingredients
- ½ cup pure aloe vera gel
- ½ cup rosemary water (2 tbsp dried rosemary steeped in 1 cup hot water, cooled and strained)
- 1 tsp argan oil (optional)
- 5–10 drops lavender essential oil
Steps
- Mix aloe vera and rosemary water in a spray bottle.
- Add oils and shake well.
- Spritz on damp hair (focus on lengths if scalp is oily).
- Comb through and air dry.
Tip: Use 2–3 times per week after washing. Massage scalp for 3–5 minutes. Visible improvement in thickness and strength may appear in 4–6 weeks with consistent use.
🧴 How to Make Leave-In Conditioner from Regular Conditioner
If you don’t want to start from scratch, you can easily turn your rinse-out conditioner into a leave-in spray.
Best Dilution Ratio
- 1 part conditioner
- 3–4 parts water
Example:
2 tbsp conditioner + ½ cup water (1:3 ratio)
How to Choose the Right Conditioner
- Pick lightweight, watery formulas
- Avoid heavy shea butter-based creams
- Best for fine or low-porosity hair
Steps
- Add conditioner to water in a spray bottle.
- Shake until fully dissolved (no clumps).
- Add 1 tsp aloe vera for extra slip (optional).
- Spray lightly and scrunch.
If it feels too thick, add more water (up to 1:4 ratio).
Storage: Refrigerate and use within 1 week.
🖤 DIY Leave-In Conditioner for 4C Hair


4
4C hair thrives on intense moisture and sealing. This thicker formula works beautifully with the LOC method (Liquid, Oil, Cream).
Ingredients
- 1 tsp melted shea butter
- ¼ cup aloe vera gel
- ¼ cup water
- 1 tsp castor oil
- 5 drops rosemary oil
Benefits
- Shea butter – Seals moisture
- Castor oil – Thickens appearance
- Aloe – Hydrates coils
- Rosemary oil – Strengthens
Steps
- Melt shea butter and blend with aloe and water.
- Add oils and shake well.
- Apply using LOC method:
L – Liquid: Spray aloe/water mixture
O – Oil: Apply castor oil
C – Cream: Scrunch shea mix
Apply on soaking wet hair. Refresh sections daily as needed.
✨ Homemade Leave-In Conditioner for Black Hair


4
Black hair benefits from deep hydration and sealing oils to reduce dryness and shrinkage.
Key Recipe
- ⅓ cup aloe vera juice
- 2 tbsp canned coconut milk
- 1 tbsp castor oil
- 1 tsp jojoba oil
- 5 drops tea tree oil
Why This Works
- Coconut milk adds softness
- Castor oil supports density
- Jojoba oil mimics natural scalp oils
- Tea tree oil helps reduce buildup
Steps
- Whisk coconut milk and aloe.
- Stir in oils.
- Bottle and shake before each use.
- Spray on damp hair and finger-detangle.
Pro Tip: Use nightly for shrinkage control. Pair with a silk bonnet.
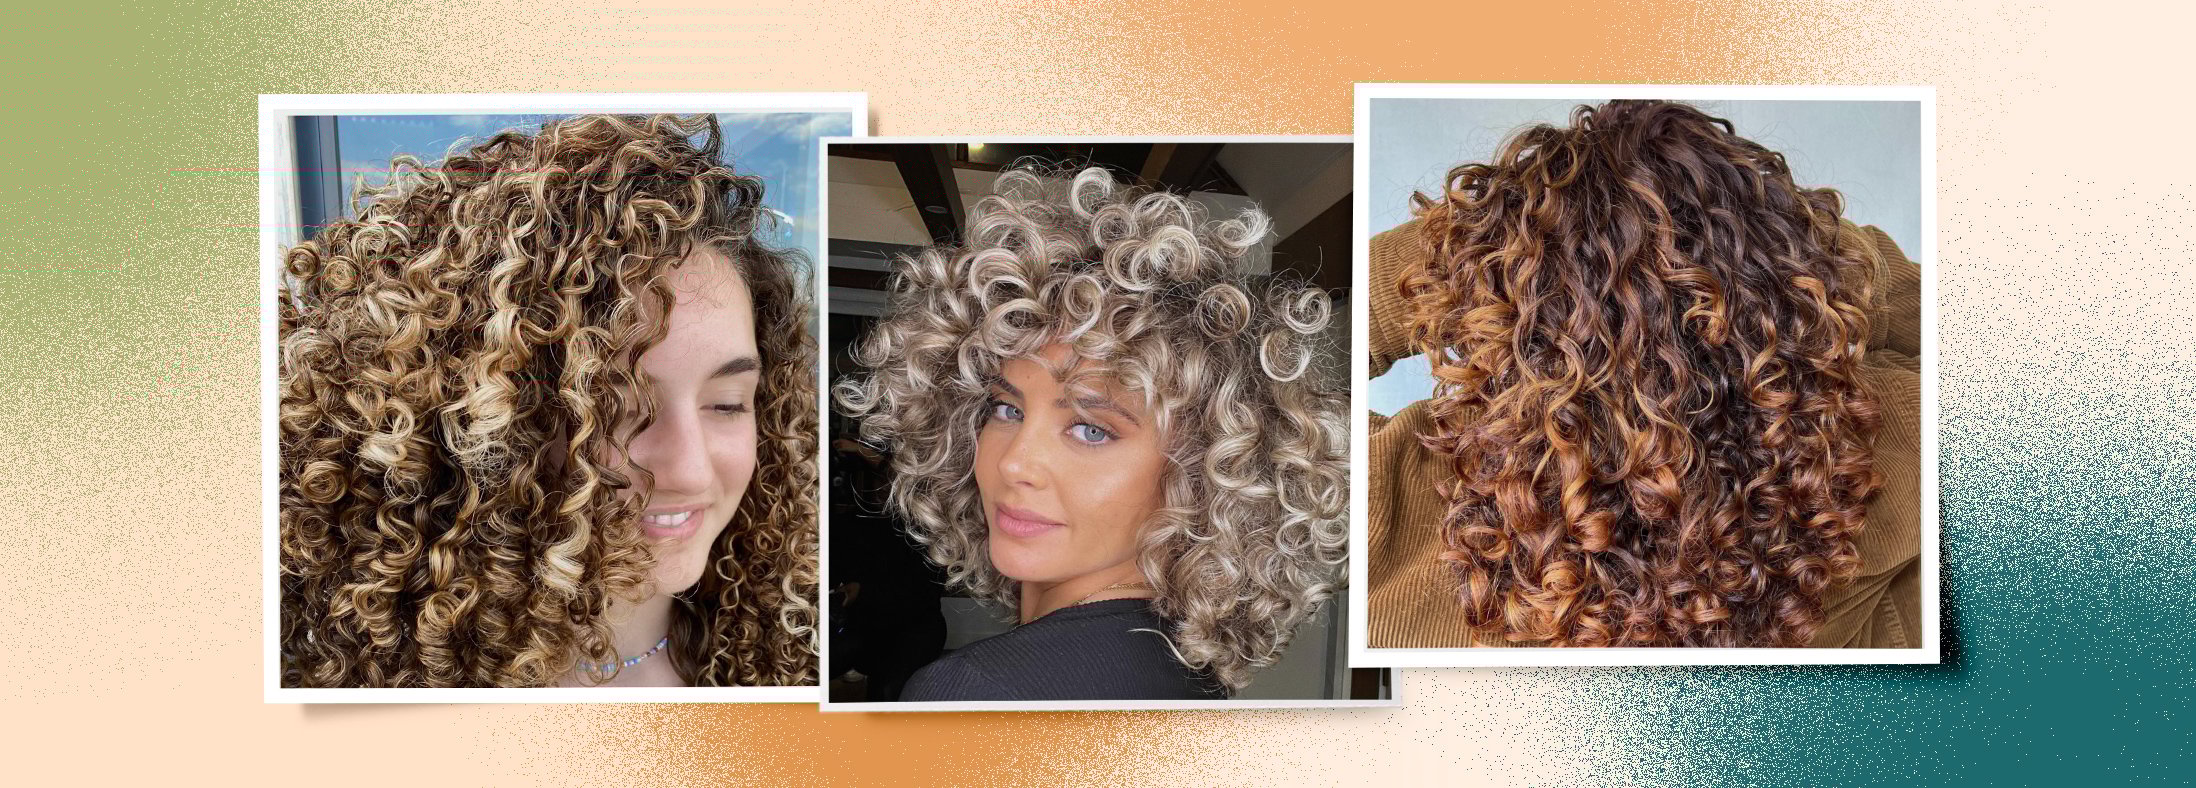
💛 Homemade Leave-In Conditioner for Curly Hair (2C–3C)
4
Curly hair needs moisture plus definition — without crunch.
Ingredients
- ¼ cup distilled water
- 2 tbsp aloe vera gel
- 1 tbsp vegetable glycerin
- 1 tsp olive oil
- 10 drops essential oil (orange or lavender)
Why It Works
- Glycerin – Humectant for curl definition
- Aloe – Lightweight hydration
- Olive oil – Reduces frizz
Steps
- Combine all ingredients in spray bottle.
- Shake vigorously before each use.
- Spray generously on damp curls.
- Scrunch upward.
- Plop for 20 minutes and air dry.
If curls fall flat, slightly increase glycerin. Avoid heavy heat styling.
Homemade Leave-In Conditioner for Frizzy Hair
Tame frizz fast. Add argan oil for smoothing. Avoid too much glycerin in humid weather—draws moisture. Use on damp hair.
Anti-Frizz Mix
Steps
- Blend all, strain if needed.
- Mist mid-lengths to ends.
- Smooth with wide brush.
- Diffuser dry low heat.
Humidity hack: Swap glycerin for more argan.
DIY Leave-In Conditioner for Wavy Hair
Wavy hair hates weight. Keep formula light—no heavy butters. Use small spray amount to enhance S-shape without limpness.
Lightweight Recipe
- ½ cup water.
- 1 tbsp conditioner (light, like volumizing).
- 1 tsp jojoba oil (mimics sebum).
- ½ tsp glycerin.
- 5 drops rosemary oil.
Steps Explained
- Dilute conditioner: 1:4 water ratio thins it—prevents greasy waves. Shake 30 seconds.
- Add jojoba: Matches scalp oil, adds slip without buildup.
- Small spray: 4–6 spritzes on 2A–2C waves. Focus tips—avoids root flatness.
- Enhance: Scrunch damp hair. Air dry or microfiber towel.
Why light? Waves need lift; heavy mix flattens. Refresh day 2 with spritz. Test on small section. Lasts 1–2 weeks chilled.
What Is a Homemade Leave-In Hair Moisturizer?
A homemade leave-in hair moisturizer is a lightweight hair product you make at home using simple ingredients like water, conditioner, and oils. Unlike regular conditioner that you rinse out in the shower, you spray or apply this mixture to your hair and leave it in all day.
Think of it as a drink of water for thirsty hair. Just like your skin needs moisturizer throughout the day, your hair needs continuous hydration too.
Key difference: You make it yourself with ingredients you already have in your bathroom or kitchen, which means you control exactly what goes on your hair.
How It Differs from Rinse-Out Conditioner
Rinse-Out Conditioner:
- Applied in shower after shampooing
- Left on for 2-5 minutes maximum
- Completely rinsed away with water
- Thick, creamy texture
- Contains heavy conditioning agents
- Used 2-3 times per week
Leave-In Conditioner:
- Applied to damp or dry hair anytime
- Stays in hair until next wash
- Never rinsed out
- Light, spray-able consistency
- Contains diluted conditioning agents
- Can be used daily or multiple times daily
The main difference: Leave-in conditioner is much lighter and more diluted. If you left regular conditioner in your hair without rinsing, it would make your hair greasy, heavy, and limp. Leave-in formulas are specifically designed to provide moisture without weighing hair down.
Consistency comparison:
- Regular conditioner = Thick lotion
- Leave-in conditioner = Light milk or spray
Why It Helps Dry or Frizzy Hair
User Pain Point: “My hair feels dry, looks frizzy, and breaks easily no matter what I do.”
How Leave-In Moisturizer Solves This:
1. Locks In Moisture
- Creates a protective barrier on each hair strand
- Seals the hair cuticle (outer layer)
- Prevents water from escaping
- Keeps hair hydrated between washes
2. Smooths the Hair Cuticle
- Frizz happens when the cuticle lifts up
- Leave-in conditioner smooths cuticles flat
- Smooth cuticles = shiny, frizz-free hair
- Reflects light better for glossy appearance
3. Provides Continuous Protection
- Shields hair from environmental damage
- Protects against heat from blow dryers
- Reduces friction from brushing and styling
- Guards against humidity and pollution
4. Strengthens Hair Structure
- Penetrates hair shaft with nutrients
- Fills in gaps and cracks
- Reduces breakage and split ends
- Makes hair more elastic and resilient
Why homemade works better for some people:
- No harsh chemicals or preservatives
- Customizable to your hair’s exact needs
- Fresh ingredients = maximum potency
- You know every single ingredient
- Free from silicones that cause buildup
Scientific reason for frizz: When hair is dry, it desperately seeks moisture from the air (humidity). This causes strands to swell unevenly, creating frizz. Leave-in moisturizer gives hair the water it needs internally, so it stops pulling moisture from the environment.
Benefits of Using a DIY Leave-In Conditioner
Adds Moisture
User Pain Point: “My hair feels like straw and looks dull and lifeless.”
How DIY Leave-In Helps:
Immediate Hydration:
- Water-based formula delivers instant moisture
- Lightweight oils penetrate hair shaft
- Humectants attract moisture from air
- Hair absorbs what it needs
- Visible improvement within minutes
Long-Lasting Moisture:
- Stays in hair for 1-3 days
- Releases hydration gradually
- Reapply as needed throughout week
- Builds moisture levels over time
- Hair becomes healthier with consistent use
Moisture Benefits by Hair Type:
| Hair Type | Moisture Need | Benefit |
|---|---|---|
| Fine/Thin | Light moisture | Volume without greasiness |
| Medium | Balanced moisture | Smooth texture, manageability |
| Thick/Coarse | Heavy moisture | Softness, reduced bulk |
| Curly | Intensive moisture | Defined curls, less frizz |
| Color-Treated | Gentle moisture | Color protection, shine |
Reduces Frizz
User Pain Point: “My hair is a frizzy mess especially on humid days.”
Anti-Frizz Action:
How It Works:
- Seals hair cuticle completely
- Creates smooth surface on each strand
- Blocks humidity from entering hair
- Weighs down flyaways gently
- Maintains consistent moisture level
Frizz Reduction Timeline:
- Immediately: Visible smoothing
- 30 minutes: Maximum frizz control
- 2-3 hours: Peak performance
- All day: Continued protection
- After 1 week use: Cumulative improvement
Why homemade formula fights frizz better:
- No alcohol (which causes dryness)
- Natural oils smooth cuticle
- Fresh ingredients more effective
- You control oil amount
- Can adjust for humidity level
Improves Softness
User Pain Point: “My hair feels rough, tangled, and hard to manage.”
Softening Benefits:
Touch and Feel Improvements:
- Silky smooth texture
- Easier to run fingers through
- Reduced tangles and knots
- Hair feels lighter
- More bounce and movement
How It Creates Softness:
- Oils coat each hair strand
- Water plumps up hair shaft
- Conditioner smooths surface
- Hair strands glide past each other
- Result: Touchably soft hair
Softness by Application:
- Damp hair application: Maximum softness
- Dry hair application: Quick refresh
- Ends only: Targets driest areas
- Full length: Overall improvement
Before vs After (Typical Results):
| Factor | Before | After 2 Weeks |
|---|---|---|
| Texture | Rough, straw-like | Soft, silky |
| Tangles | Frequent, painful | Rare, easy |
| Shine | Dull, matte | Glossy, healthy |
| Breakage | High | Significantly reduced |
| Manageability | Difficult | Easy styling |
Supports Hair Growth Routine
User Pain Point: “I’m trying to grow my hair but it keeps breaking at the ends.”
Growth Support Benefits:
1. Prevents Breakage
- Moisturized hair is stronger
- Less likely to snap or split
- You keep length you grow
- Ends stay intact longer
- Retention = visible growth
2. Improves Scalp Health
- Light misting reaches scalp
- Hydrates scalp skin
- Reduces dry, flaky scalp
- Healthy scalp = healthy growth
- Can add scalp-loving oils
3. Reduces Split Ends
- Split ends travel up hair shaft
- Must be cut off regularly
- Moisturized hair splits less
- You trim less frequently
- More length over time
4. Strengthens Hair Structure
- Proteins in conditioner rebuild
- Oils fill in damage
- Hair can grow longer before breaking
- Stronger hair reaches terminal length
- Less thinning at ends
Growth Timeline Comparison:
| Routine | 6 Months Growth | Actual Retained Length |
|---|---|---|
| No leave-in | 3 inches grown | 1.5 inches (breakage) |
| With leave-in | 3 inches grown | 2.5-2.8 inches kept |
Important note: Leave-in conditioner doesn’t make hair grow faster from the root (genetics controls that). It helps you keep the length you grow by preventing breakage and damage.
Budget Friendly
User Pain Point: “Store-bought leave-in conditioners cost $15-30 and run out quickly.”
Cost Comparison:
Homemade Leave-In Costs:
- Distilled water (1 cup): $0.10
- Regular conditioner (2 tbsp): $0.25
- Light oil (1 tsp): $0.15
- Spray bottle (reusable): $2 one-time
- Cost per 8 oz batch: $0.50
- Per use (2 sprays): $0.03
Store-Bought Leave-In Costs:
- Average price: $12-$25
- Amount: 8-12 oz
- Cost per use: $0.40-$0.75
- Monthly cost (daily use): $12-$22
Annual Savings:
| Product | Annual Cost | Your Savings |
|---|---|---|
| Store-bought | $144-$264 | — |
| Homemade | $18-$24 | $120-$240 |
Additional Budget Benefits:
- Use conditioner you already own
- Buy ingredients in bulk
- One bottle makes 10-15 batches
- No wasted product (make small amounts)
- Customize without buying multiple products
- No expensive specialty ingredients needed
Money-Saving Tips:
- Make small batches to prevent waste
- Use affordable coconut or olive oil
- Buy large conditioner bottle on sale
- Distilled water is pennies per gallon
- Reuse spray bottles indefinitely
- Share recipe with friends
ROI (Return on Investment):
- Initial investment: $5-$10 (ingredients)
- Pays for itself: First month
- Yearly savings: $120-$240
- 5-year savings: $600-$1,200
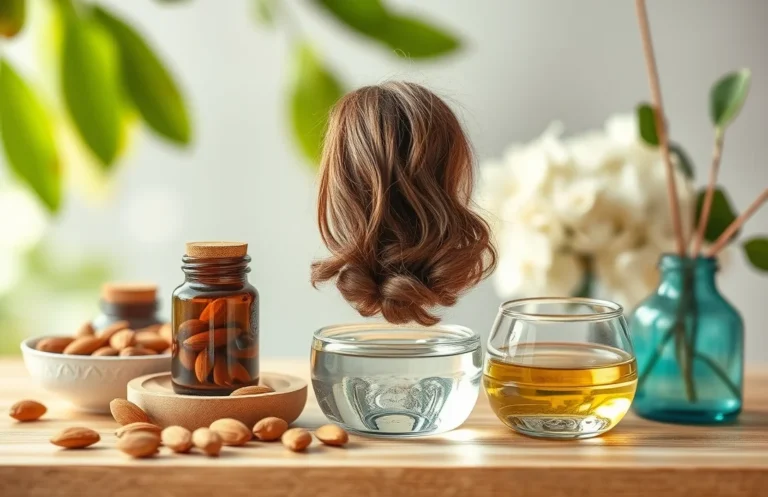
Basic Homemade Leave-In Conditioner Recipe
Ingredients
User Pain Point: “I don’t know what ingredients to use or where to find them.”
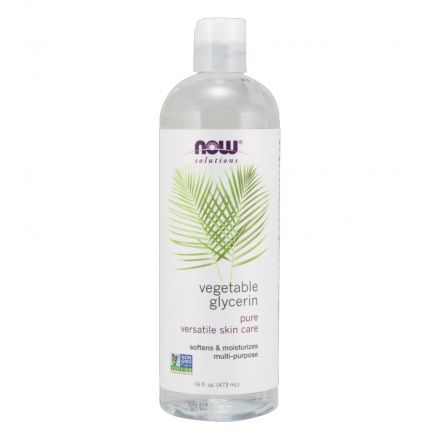
1 Cup Distilled Water
Why Distilled (Not Tap):
- Tap water contains minerals (calcium, magnesium)
- Minerals cause buildup on hair
- Can make hair feel hard or coated
- Distilled water is pure H2O only
- No chlorine or chemicals
- Better for product shelf life
Where to Buy:
- Grocery store (baby aisle or water section)
- Pharmacy
- Dollar store
- Cost: $1 per gallon
- One gallon makes 16 batches
1-2 Tablespoons Regular Conditioner
What “Regular Conditioner” Means:
- The rinse-out conditioner you already use
- Any brand works fine
- Match to your hair needs (moisturizing, protein, etc.)
- Cheaper conditioners work just as well
- Don’t need expensive salon brands
Amount Guidelines:
| Hair Type | Conditioner Amount | Why |
|---|---|---|
| Fine/Thin | 1 tablespoon | Won’t weigh down |
| Medium | 1.5 tablespoons | Balanced moisture |
| Thick/Coarse | 2 tablespoons | Extra conditioning |
| Very Dry | 2 tablespoons | Maximum moisture |
Best Conditioner Types:
- Moisturizing: For dry, damaged hair
- Protein-free: For soft, weak hair
- Color-safe: For dyed hair
- Sulfate-free: Gentler formula
- Avoid: Heavy, creamy conditioners (too thick)
Testing tip: Start with 1 tablespoon. If hair feels dry after use, increase to 1.5 or 2 tablespoons next batch.
1 Teaspoon Light Oil
Why Oil Matters:
- Seals in moisture
- Adds shine
- Smooths cuticle
- Prevents water evaporation
- Creates protective barrier
Oil Options (Choose One):
Coconut Oil:
- Best for: Thick, coarse, curly hair
- Benefits: Deep penetration, protein-like effects
- Note: Can be heavy on fine hair
- Form: Melt if solid, use liquid
Jojoba Oil:
- Best for: All hair types, oily scalps
- Benefits: Most similar to natural scalp oil
- Note: Light, won’t cause buildup
- Cost: Mid-range
Argan Oil:
- Best for: Damaged, color-treated hair
- Benefits: Rich in vitamin E, shine-boosting
- Note: Expensive but effective
- Cost: Higher-end
Other Options:
- Sweet almond oil: Light, affordable, all hair types
- Grapeseed oil: Very light, fine hair
- Olive oil: Heavy moisture, very dry hair
- Avocado oil: Thick hair, protein needs
Oil Amount by Hair Type:
| Hair Type | Oil Amount | Recommendation |
|---|---|---|
| Fine/Thin | ½ teaspoon | Grapeseed or jojoba |
| Medium | ¾-1 teaspoon | Jojoba or almond |
| Thick | 1-1.5 teaspoons | Coconut or argan |
| Curly | 1-2 teaspoons | Coconut or argan |
Oil Shopping Tips:
- Buy from grocery store (cheaper than beauty store)
- Look for “food grade” (same quality, lower price)
- Cold-pressed is best quality
- Small bottles fine (little needed per batch)
- Store in cool, dark place
Steps
User Pain Point: “I’m not good at making things and afraid I’ll mess it up.”
Good news: This recipe is nearly impossible to mess up. It’s just mixing three ingredients in a bottle.
Step 1: Add Water to a Spray Bottle
What You Need:
- Clean spray bottle (8-12 oz size)
- 1 cup distilled water
- Funnel (optional, makes it easier)
How to Do It:
- Rinse spray bottle with hot water
- Let dry completely (or use immediately)
- Place funnel in bottle opening (if using)
- Pour 1 cup (8 oz) distilled water into bottle
- Remove funnel
Spray Bottle Tips:
- Use empty bottle from old product
- Buy new spray bottles at dollar store
- Fine mist sprayer works best
- Avoid bottles that had harsh chemicals
- Label bottle with contents and date
Why spray bottle:
- Even distribution through hair
- No product waste
- Easy to target specific areas
- Portable for on-the-go use
- Less mess than pour bottles
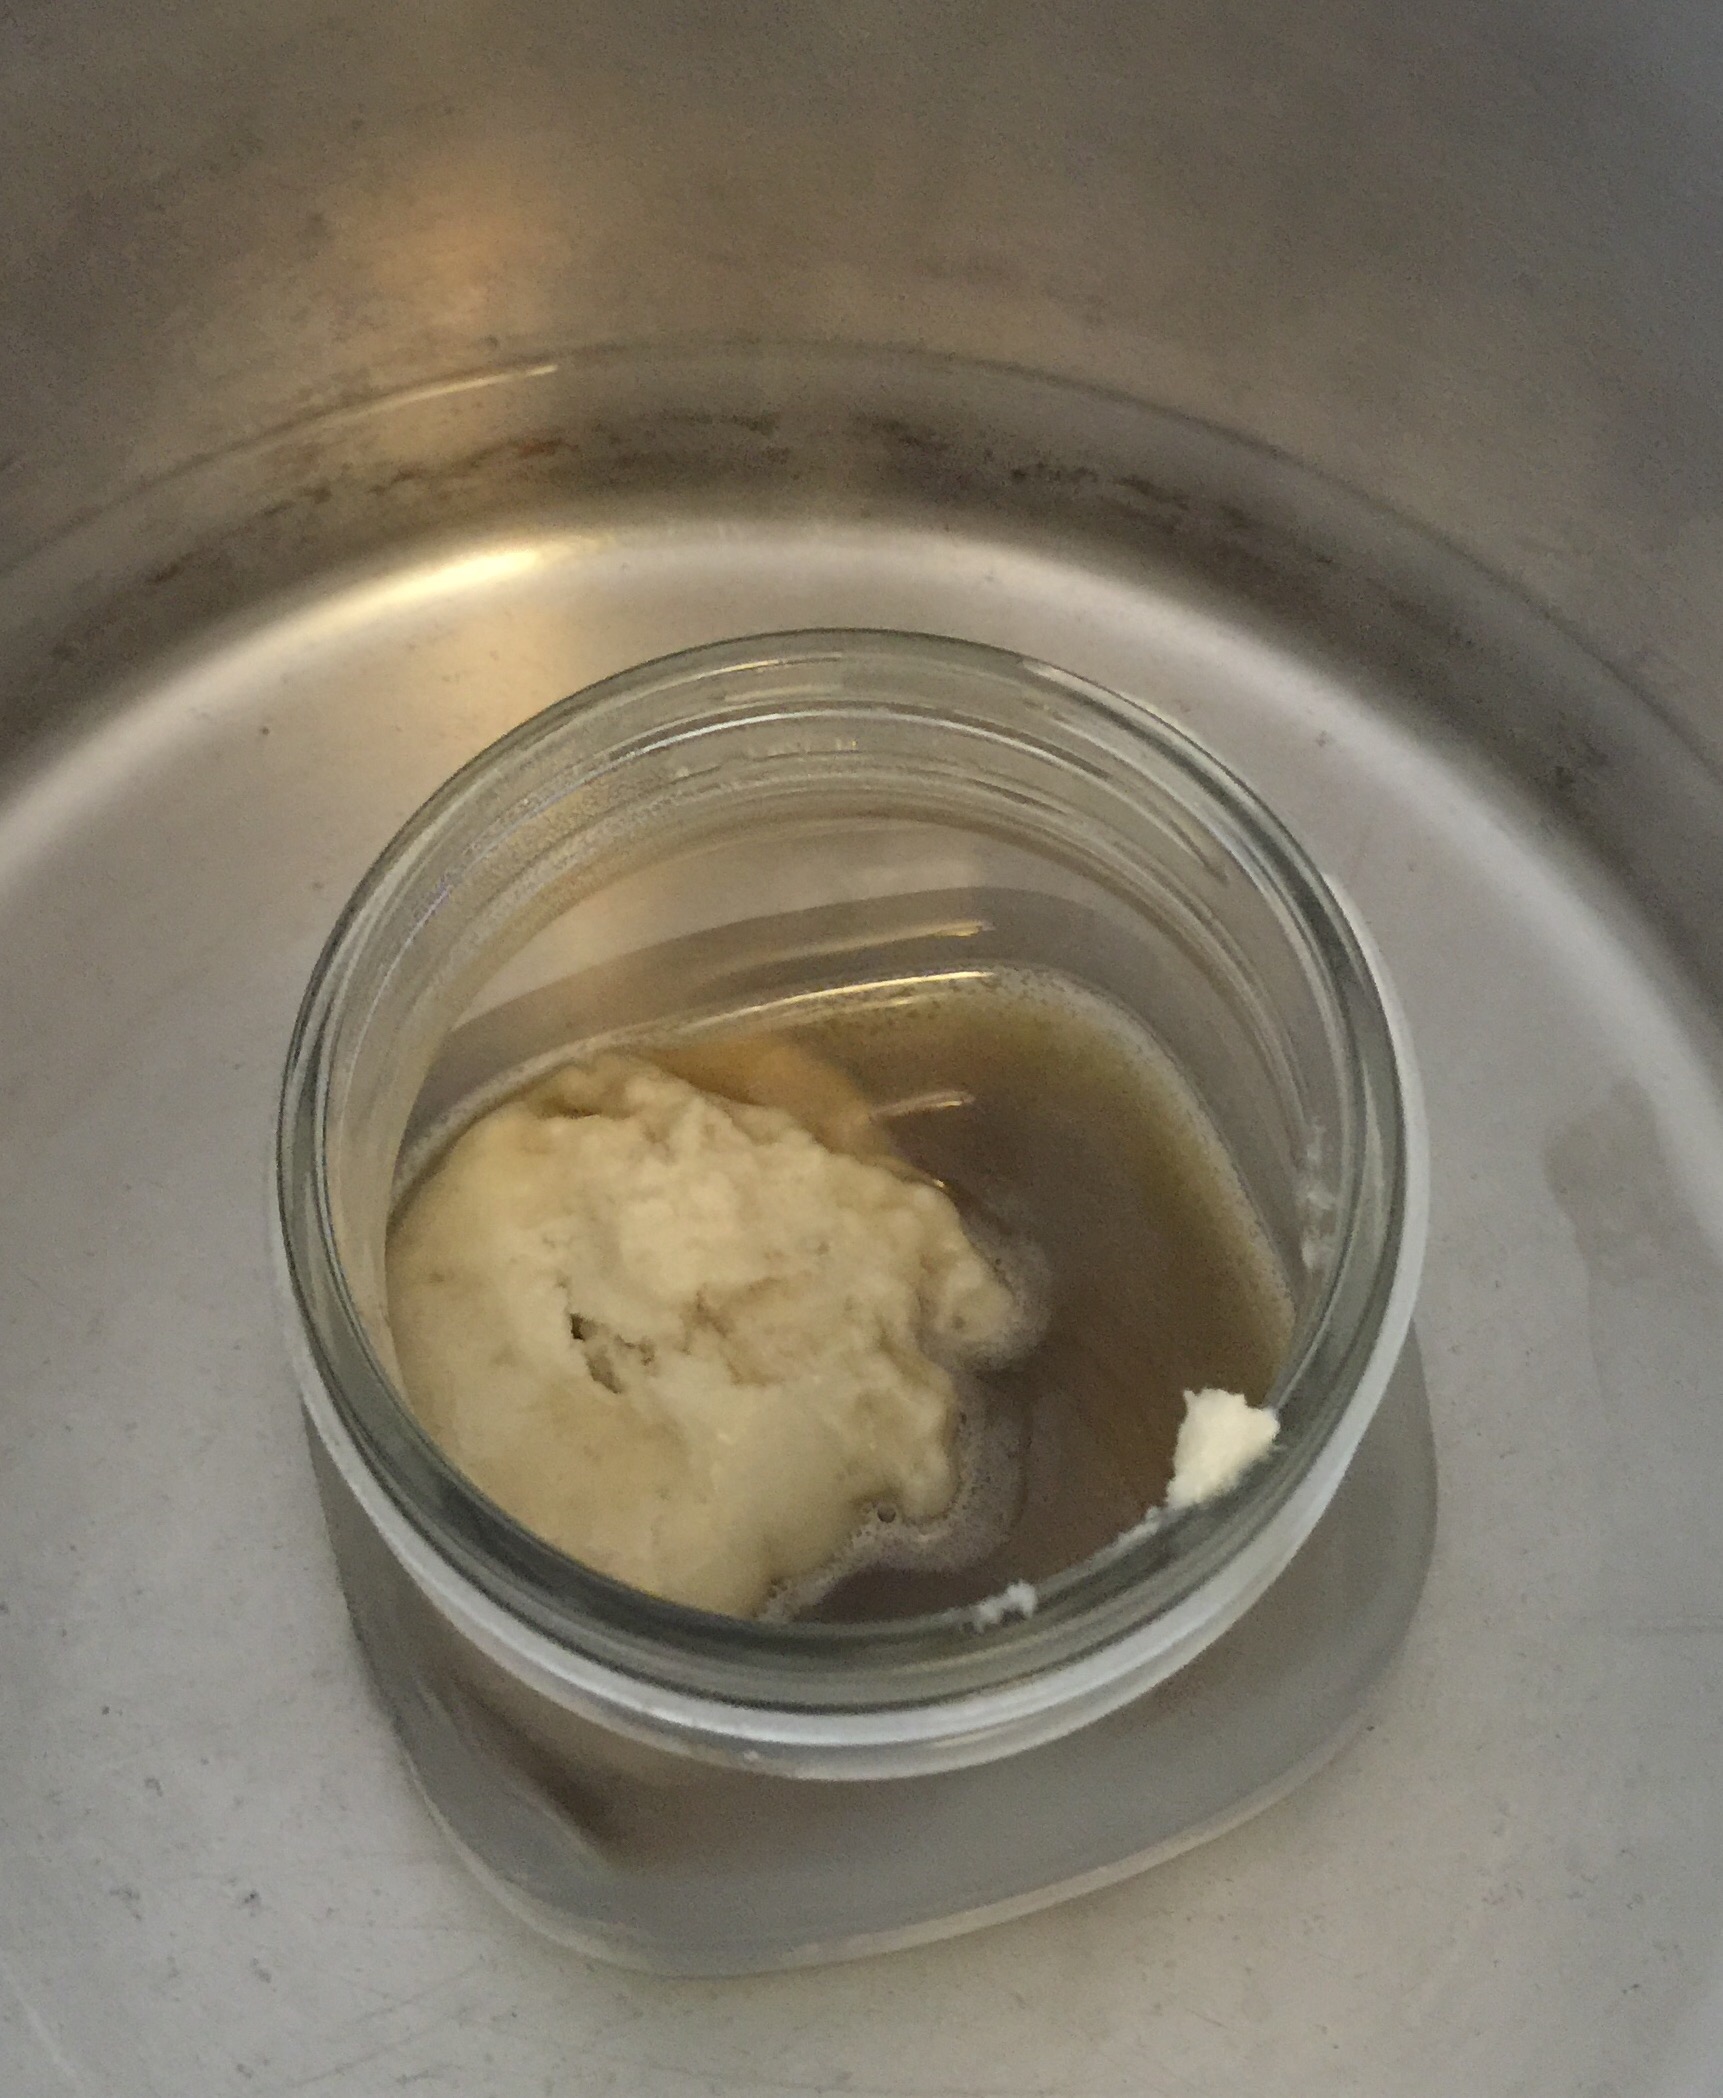
Step 2: Mix In Conditioner
How to Add Conditioner:
- Measure 1-2 tablespoons conditioner
- Use funnel OR add directly to bottle
- If conditioner is thick, warm slightly
- Pour slowly into bottle
- Wipe any excess from bottle opening
Mixing Techniques:
- If conditioner sinks: It will mix when shaken
- If conditioner floats: That’s normal
- Don’t worry about perfect blending yet
- Thick conditioner may need help mixing
- Warm water helps dissolve faster
Troubleshooting:
- Too thick to pour: Add conditioner to bottle first, then water
- Clumping: Add conditioner in small amounts
- Not mixing: Shake vigorously for 30-60 seconds
- Stuck in funnel: Push through with spoon handle
Step 3: Add Oil
How to Add Oil Properly:
- Measure 1 teaspoon oil carefully
- Pour slowly into bottle
- Oil will float on top (this is normal)
- Don’t overpour (oil is concentrated)
- Wipe bottle rim clean
Oil Addition Tips:
- Coconut oil solid: Melt in microwave 5-10 seconds first
- Measuring trick: Fill measuring spoon level, not heaping
- Too much oil: Will make hair greasy (less is more)
- Alternative: Add oil directly to hair instead of bottle
Why oil goes in last:
- Easier to see amount added
- Floats on top anyway
- Distributes better when shaking
- Can adjust amount easily
- Less likely to spill
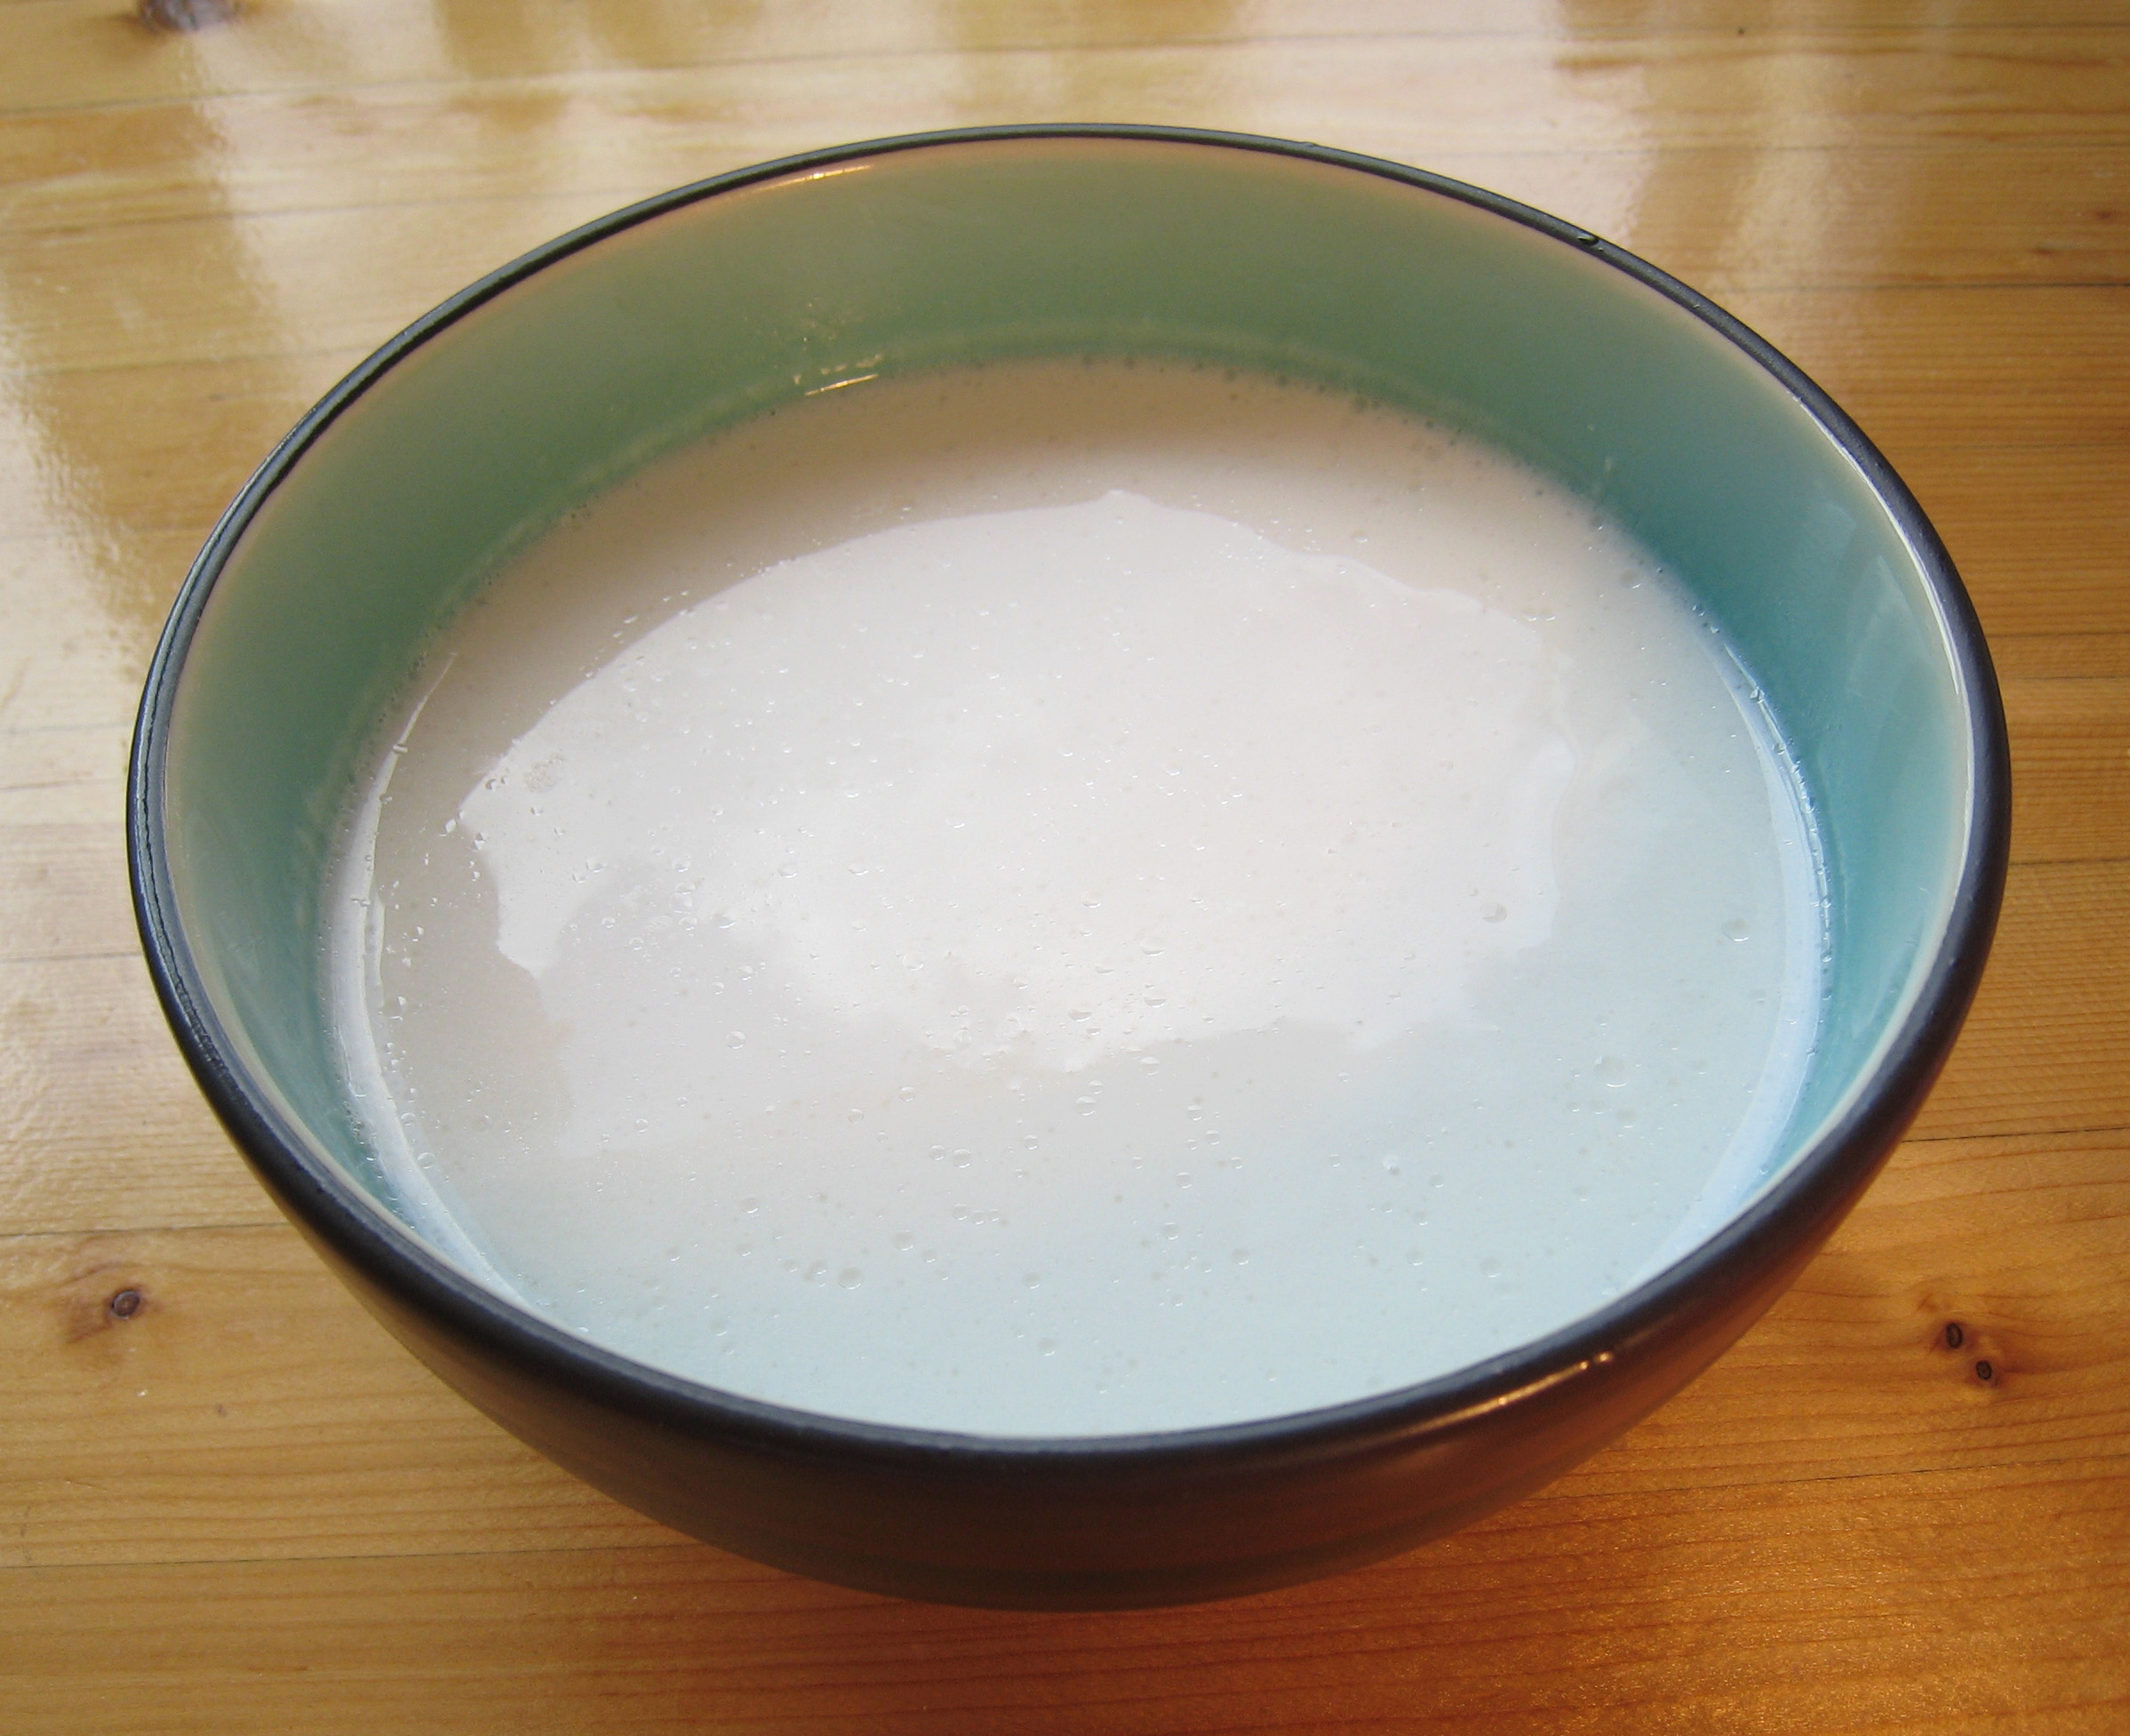
Step 4: Shake Well Before Use
Shaking Instructions:
- Close spray bottle cap tightly
- Hold bottle firmly
- Shake vigorously for 30-60 seconds
- You’ll see mixture turn cloudy/milky
- Check that oil is dispersed (no clear oil floating)
How to Tell It’s Mixed:
- Color changes from clear to milky white
- No visible oil droplets on top
- Uniform cloudy appearance
- When sprayed, comes out evenly
- Smells like your conditioner
Shaking Requirements:
- Before first use: Shake 60 seconds minimum
- Before each use: Shake 10-15 seconds
- After sitting overnight: Shake 20-30 seconds
- If oil separates: Shake until remixed
Why shaking is critical:
- Oil and water don’t naturally mix
- Shaking creates temporary emulsion
- Ensures even distribution on hair
- Prevents oil spots on hair
- All ingredients work together
How to Use
User Pain Point: “I don’t know how much to use or where to spray it.”
Spray on Damp Hair
Best Time to Apply:
- Right after shower: Hair is wet/damp (BEST)
- After towel drying: Hair is damp, not dripping
- On dry hair: For refresh or touch-ups
- Before heat styling: Adds protection
- At night: For overnight moisture
How Much to Spray:
| Hair Length | Number of Sprays | Coverage |
|---|---|---|
| Short (chin) | 3-5 sprays | Light coating |
| Medium (shoulder) | 6-10 sprays | Even coverage |
| Long (mid-back) | 10-15 sprays | Full saturation |
| Very long (waist+) | 15-20 sprays | Complete coverage |
Where to Spray:
Targeting Hair Sections:
Ends (Always spray here first):
- Spray 3-4 times directly on ends
- These are oldest, driest parts
- Need most moisture
- Prevent split ends
- Most visible improvement
Mid-Lengths:
- Spray 4-6 times from ear level down
- Lift sections to spray underneath
- Don’t neglect back sections
- Even distribution matters
- Where most damage occurs
Roots/Scalp (Optional):
- 1-2 light sprays only
- Avoid if hair gets greasy easily
- Good for dry scalp
- Skip if you have oily roots
- Better for thick/curly hair
Application Technique:
- Shake bottle well
- Hold 6-8 inches from hair
- Spray evenly in sweeping motion
- Don’t drench (light mist better)
- Add more if needed
Damp vs Wet Hair:
- Wet hair (dripping): Shake out excess water first
- Damp hair (towel-dried): Perfect for application
- Dry hair: Spray lightly, less is more
Comb Through
Why Combing is Essential:
Benefits of Combing:
- Distributes product evenly
- Prevents product buildup spots
- Detangles while hair is conditioned
- Ensures every strand gets coated
- Smooths cuticle in one direction
Best Tools:
Wide-Tooth Comb:
- Best for: Wet/damp hair (prevents breakage)
- Material: Plastic or wood
- Spacing: Wide teeth (less pulling)
- Cost: $2-$5
Detangling Brush:
- Best for: Thick or curly hair
- Type: Wet brush or Tangle Teezer
- Benefits: Gentle on knots
- When: After initial combing
Your Fingers:
- Best for: Curly hair definition
- Method: Scrunch and separate
- Benefits: Preserves curl pattern
- When: Final styling step
Proper Combing Technique:
Step-by-Step:
- Start at the ends (bottom 2-3 inches)
- Gently work through any tangles
- Move up to mid-lengths
- Comb from mid-length to ends
- Finally, comb from roots to ends
- Use smooth, gentle strokes
Never do this:
- ❌ Start combing at roots
- ❌ Rip through tangles
- ❌ Use fine-tooth comb on wet hair
- ❌ Brush aggressively
- ❌ Skip detangling
For Different Hair Types:
Straight Hair:
- Comb straight down
- Smooth from roots to ends
- Use paddle brush for styling
Wavy Hair:
- Comb in sections
- Scrunch with hands after
- Let air dry for waves
Curly Hair:
- Comb in sections
- Use fingers to define curls
- Scrunch, don’t brush dry
Coily/Kinky Hair:
- Detangle in sections
- Use fingers primarily
- May need more product
Do Not Rinse
Why You Leave It In:
The Science:
- Product continues working all day
- Hair absorbs moisture over time
- Oils penetrate hair shaft slowly
- Protection lasts until next wash
- Cumulative benefits with daily use
What Happens in Your Hair:
Hours 0-2:
- Initial moisture absorption
- Surface smoothing
- Immediate frizz control
- Shine appears
Hours 2-6:
- Deeper penetration
- Ongoing hydration
- Continued softening
- Maximum benefits
Hours 6-24:
- Protective barrier maintained
- Moisture locked in
- Prevents environmental damage
- Hair stays manageable
Day 2-3:
- Can reapply without washing
- Layer additional product
- Touch up dry areas
- Refresh as needed
How to Know You Used the Right Amount:
Perfect Amount Signs:
- Hair feels soft, not greasy
- Slight shine, not oily look
- Moves freely, not weighed down
- Dries normally (not staying wet)
- No white residue when dry
Too Much Product Signs:
- Hair looks wet/oily when dry
- Feels heavy or limp
- Looks stringy or separated
- Takes forever to dry
- Scalp feels greasy
- Fix: Use less next time OR rinse out and reapply less
Too Little Product Signs:
- Hair still feels dry
- Frizz returns quickly
- Rough texture remains
- No noticeable difference
- Tangles easily
- Fix: Add 2-3 more sprays to dry areas
When to Wash Out:
- Next regular wash day (2-7 days typically)
- If hair feels too heavy or greasy
- If buildup occurs
- When you shampoo normally
- No special removal needed (regular shampoo removes it)
Reapplication Schedule:
- Daily washers: Apply after each wash
- Every 2-3 days: Reapply on non-wash days
- Weekly washers: Touch up mid-week
- As needed: Dry areas or frizz control
Special Situations:
Swimming:
- Apply before swimming (protection)
- May need to wash out after chlorine exposure
- Reapply after washing
Gym/Exercise:
- Can apply after workout shower
- Helps with sweat-induced frizz
- Refreshes hair post-workout
Humid Weather:
- Apply extra to combat frizz
- Reapply during day if needed
- Focus on surface layers
Dry Climate:
- May need 2x daily application
- Heavier hand with spraying
- Consider adding more oil to recipe
Sleeping with Leave-In:
- Totally fine to leave in overnight
- Can apply at night for morning softness
- Use satin pillowcase to prevent frizz
- May need morning refresh spray
Homemade Leave-In Conditioner for Fine Hair
Managing fine hair is a delicate balancing act. You want to tame frizz and add shine, but heavy products can quickly turn your “voluminous” look into a “greasy” one. A homemade spray allows you to control the weight of the ingredients perfectly.
Use Very Light Conditioner
The base of your DIY spray should be a silicone-free, lightweight conditioner. Since fine hair has a smaller diameter, it absorbs products quickly. A heavy, cream-based conditioner will coat the hair shaft too thickly, pulling the hair down and making it look limp by midday. Look for ingredients like aloe vera or rosewater in your base.
Skip Heavy Oils
While many DIY recipes call for coconut or olive oil, these are the “enemies” of fine hair. They are far too dense and often sit on top of the hair rather than penetrating it. If you feel you must add an oil for extra shine, stick to Argan or Jojoba oil, and use no more than 2–3 drops for an entire 8-ounce bottle.
Spray Only on Ends
Fine hair naturally receives plenty of sebum (natural oil) from the scalp. To avoid a “flat” crown, apply your leave-in conditioner only from the mid-shaft to the tips. This targets the oldest, driest part of your hair while keeping your roots light and bouncy.
Storage and Safety Tips
Because homemade products lack the professional-grade preservatives found in store-bought bottles, you must treat them more like food than cosmetics.
- Keep in the Fridge: Store your mixture in the refrigerator. This not only prevents bacterial growth but also provides a cooling, cuticle-closing effect when you spray it on your hair. It will stay fresh for up to 1 week.
- Shake Before Use: Oil and water naturally separate. Give the bottle a vigorous shake before every application to ensure the ingredients are properly emulsified.
- The “Sniff Test”: If the mixture develops a sour smell, changes color, or looks cloudy, discard it immediately. This is a sign that bacteria or mold has begun to grow in the water base.
Frequently Asked Questions
Can I use this on dry hair?
Yes, but it works best on damp, towel-dried hair. When hair is wet, the cuticle is slightly open, allowing the light conditioners to penetrate deeper. On dry hair, use a very fine mist to avoid “clumping” your strands.
Will this replace my regular conditioner?
Usually, no. This is a supplemental tool for detangling and shine. If you have fine hair, you should still use a rinse-out conditioner in the shower, but only on the bottom half of your hair.
What is the best water to use?
For the longest shelf life, use distilled or boiled (and cooled) water. Tap water contains minerals and chlorine that can cause the mixture to spoil faster and may leave a film on fine hair.
Conclusion
A homemade leave-in conditioner is the ultimate “hack” for fine-haired individuals who find commercial products too heavy. By using a light base, avoiding dense oils, and concentrating the application on your ends, you can achieve a polished, frizz-free look without sacrificing volume. Just remember that freshness is key mix small batches frequently to ensure your hair stays healthy and your scalp stays clear.
- Does Summer Really Boost Hair Growth Speed? Insights and Facts - March 31, 2026
- Medium Hairstyles for School: 25 Best Looks That Are Easy - March 31, 2026
- Hairstyles for Medium Hair for School: Easy and Stylish - March 31, 2026