Mastering Hair: 5 Techniques to Elevate Your Hairstyle Drawings
Over 90% of beginner artists struggle with drawing hairstyles, often feeling overwhelmed by the complexity. Yet, mastering this skill can significantly enhance your character design and boost your confidence in illustration. Simple techniques can transform your drawing experience and results.
Start by focusing on basic shapes to outline hairstyles. Use reference images to understand hair flow. Experiment with textures to add depth and movement. Practice regularly, and remember, progress comes with patience and persistence.
Basic Techniques for Drawing Hair
Start with basic shapes to represent the head and hair. Create an oval for the head and add guidelines to map out where the hair will fall. Use circles and curves to sketch the overall volume and flow of the hairstyle, focusing on how it frames the face. This foundational step ensures accurate proportions.
Next, define the hair strands using simple lines to indicate direction and movement. Focus on the natural fall of the hair, whether it’s straight, wavy, or curly. Incorporate varying thickness in your lines to add depth and texture. This technique helps portray the hair’s lifelike quality and makes it visually engaging.
Use shading to enhance the three-dimensional look of the hair. Identify your light source and apply darker tones where shadows naturally occur. Gradually blend lighter shades where light hits the hair, creating a smooth transition. This step is crucial for adding realism to your drawings.
Practice different hairstyles regularly to develop versatility. Experiment with a variety of lengths, textures, and styles to broaden your understanding of hair design. Studying real-life references or photographs can also provide insight into how hair behaves in different situations.
Exploring Different Hair Types
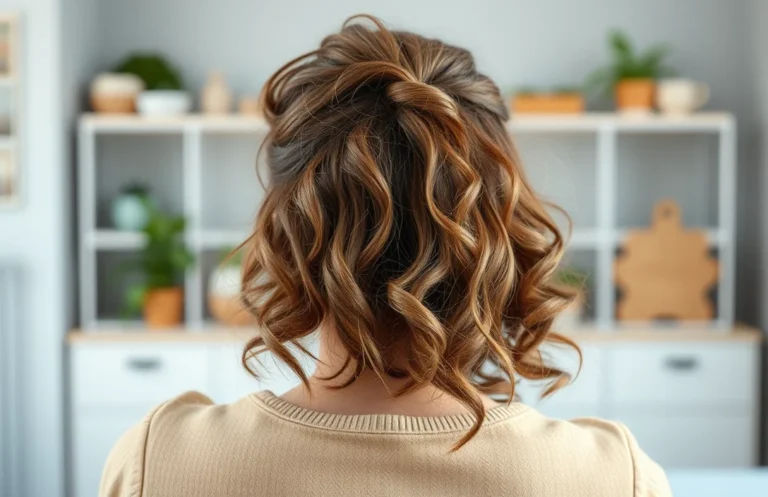
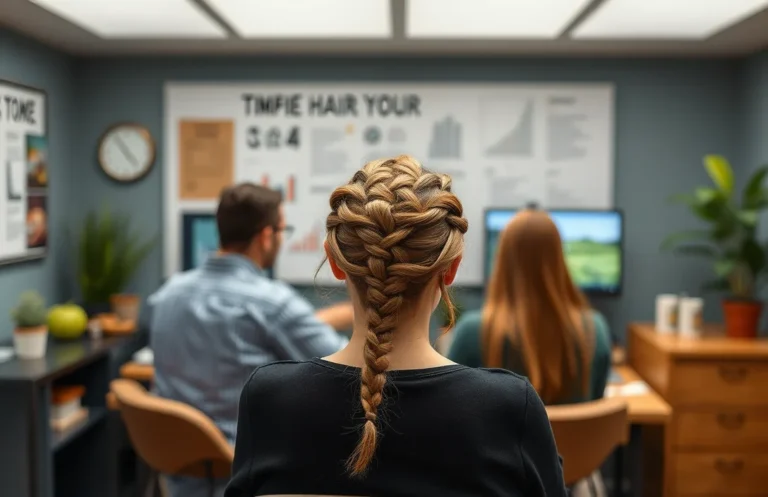
Straight hair lies flat; break it into broad ribbons and flow lines, then add single-strand accents for detail. Wavy hair forms S-shaped masses — sketch large waves first and tighten with inner curves. Curly and coily types build from clustered spirals or tighter loops; map curl direction and density before detailing. Treat braids and updos as interlocking bands.
Practice quick thumbnails for each texture: two-minute studies for straight, wavy, curly, coily, and braided hair that force you to capture mass, direction, and overlap. Use one clear reference per thumbnail and mark primary flow lines and block shapes. Repeat with varied lengths and partings to recognize repeating patterns and speed up decision-making when composing hairstyles.
Creating Volume and Shape in Hair
Building volume and shape is essential for realistic hairstyles. Start by sketching the basic silhouette of the hair, focusing on the overall form. Use simple shapes like ovals and triangles to define the hairstyle’s structure. This initial step helps in visualizing how the hair will flow and where it will gather volume.
Incorporating layers adds depth and interest. Break the hair into sections, drawing each layer with varying lengths. Longer strands create movement, while shorter layers provide volume at the roots. Think about how gravity affects the hair; the weight of longer strands will pull them down, while shorter layers will puff up.
Utilizing curves enhances the natural flow of hair. Instead of straight lines, use gentle, sweeping curves to depict how strands bend and twist. This technique not only adds realism but also makes the hairstyle more dynamic. Experiment with different curve styles to see what best represents your character’s personality.
Implementing highlights and lowlights introduces a three-dimensional effect. Lightly shading certain areas while leaving others bright creates contrast and depth. Focus on where light naturally hits the hair, usually the top and outer sections. This technique elevates your hairstyle drawings, making them appear fuller and more lifelike.
Shading and Texturing Techniques
Applying shading effectively adds depth and realism to hairstyles. Start by determining your light source; this will guide where shadows and highlights should fall. Use darker tones at the roots and lighter shades towards the tips to create a natural gradient. Blend these colors smoothly to avoid harsh lines, enhancing the overall look.
Experimenting with different brush strokes can further enhance texture. Short, quick strokes simulate the appearance of individual strands, while longer strokes can create the illusion of flowing hair. Using varying pressure while drawing can also help achieve different thicknesses, contributing to a more dynamic hairstyle.
Layering colors is essential for achieving realistic hair. Begin with a base color and gradually add highlights and shadows in separate layers. This technique allows for more control and easier adjustments. Don’t hesitate to erase or lighten areas where you want to emphasize shine or volume.
Utilizing reference images can guide your shading and texturing efforts. Analyze how light interacts with hair in various styles, noting how shadows and highlights define shapes. Incorporating this observation into your work can significantly improve your ability to render hairstyles accurately.
Contrasting Long and Short Hairstyles
Long hairstyles typically require a focus on flow and movement, capturing the way hair cascades down. Start by sketching the overall shape first, using loose lines to represent the natural fall of the hair. Pay attention to how it frames the face and the way it interacts with the character’s movement.
Short hairstyles demand precision and structure. Begin with defining the outline clearly, as shorter hair tends to have sharper angles. Use angular strokes to depict the hair’s volume and texture. Emphasizing the contrast between light and shadow can enhance the shape and give depth to your drawing.
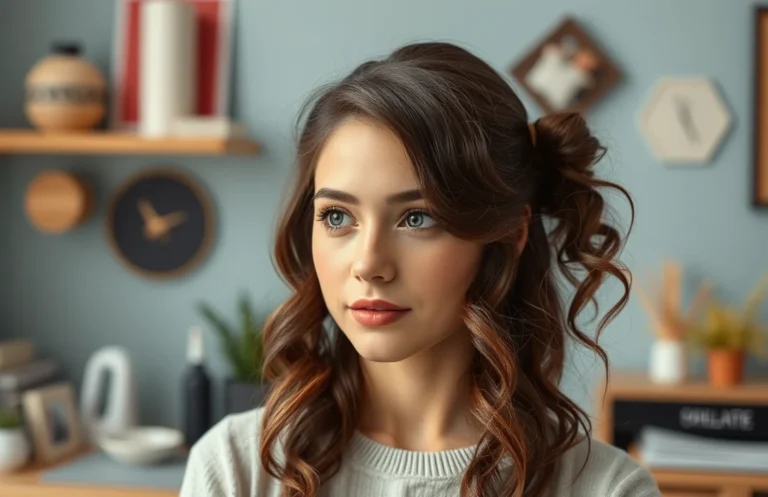
Variations in hairstyles can greatly affect character representation. For long hair, consider adding curls or waves for a softer, more dynamic look. In contrast, straight hair can convey a sleek or professional appearance. Experiment with different styles to see how they change your character’s personality.
Textures play a vital role in distinguishing hair lengths. Use finer lines for detailing long hair to create the illusion of strands, while short hair can be represented with bolder strokes. Incorporating highlights and shadows will bring your hairstyles to life, making them more realistic and engaging.
Drawing Hairstyles for Various Ages
Adapting hairstyles to different age groups requires keen observation. Younger characters, like children, often have softer, simpler hairstyles. Think about using softer lines and less detail, as their hair tends to be fine and playful. For older characters, consider more structured styles that reflect maturity, such as bob cuts or updos, showcasing the transition in life stages.
Observing real-life references greatly enhances your design process. Look at pictures of people within specific age ranges to understand common trends in hairstyles. Notice how texture, volume, and styling techniques vary. Utilizing these references will give your illustrations authenticity, allowing you to capture unique characteristics associated with different ages.
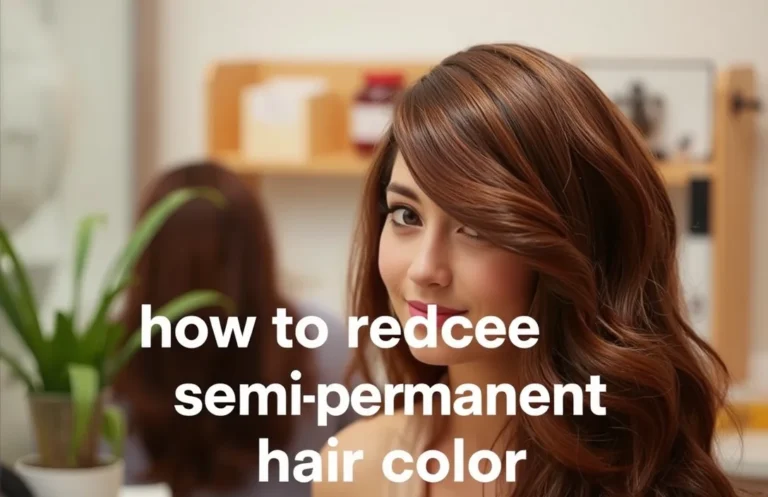
Experimenting with color can also define age groups effectively. Younger individuals often wear vibrant colors or highlights, while older characters might feature natural tones or grays. Incorporating these color choices will help to visually communicate age, enhancing your character’s personality and story through their hairstyle.
Practicing different hairstyles for various age groups will build your confidence. Create a series of sketches focusing solely on hair, experimenting with different techniques and styles. Each sketch allows you to refine your skills and discover what works best for conveying age through hair design.
Incorporating Accessories into Hairstyles
Adding accessories like bows, clips, or headbands can enhance hairstyles significantly. These elements not only provide a unique flair but also help define the character’s personality. Consider where the accessory will sit; placement can change the overall look and feel of the hairstyle. For instance, a bow at the back adds a playful touch, while a headband might suggest sophistication.
Experimenting with different styles is crucial. Start by sketching various hair types and adding accessories to see how they interact. Try placing a clip on one side or a flower tucked behind the ear. Notice how each choice affects the hairstyle’s balance and visual appeal. It’s important to keep proportions in mind; accessories should complement, not overwhelm, the hair design.
Incorporating textures can also enhance your designs. Think about using different patterns or materials for the accessories. A shiny ribbon can contrast beautifully against matte hair, while a textured headband can add depth. Play around with colors that either match or stand out from the hair to create a striking effect.
Lastly, practice is essential. Draw multiple hairstyles with various accessories to build confidence. Observing real-life examples or reference images can provide inspiration. With consistent practice, you’ll find that incorporating accessories becomes a natural part of your hairstyle designs, adding individuality and richness to your artwork.
Quick Summary
- Begin with a clear silhouette—establish the overall shape and volume before adding details.
- Block in basic masses with simple shapes and guide lines to map hair flow and parting.
- Draw direction lines that follow hair growth; use them to define strands, movement, and gravity.
- Vary line weight, strand thickness, and overlapping layers to convey texture and depth.
- Shade and highlight to show volume—place light and shadow according to the main forms, not individual hairs.
- Study references, experiment with tools and styles, and refine edges and stray hairs for realism or simplify for stylized looks.
Frequently Asked Questions
Where should I start when drawing hairstyles?
Begin by blocking in the overall silhouette and hairline on the head—think of hair as a single mass before adding strands. Use simple shapes and flow lines to establish direction and volume so details fall into place naturally.
How do I make hair look natural and dynamic?
Follow the hair’s growth direction with loose gesture lines and break the mass into clumps rather than drawing every strand; that creates believable movement. Leave small gaps and varying edge shapes to suggest light passing through and to avoid a flat, stiff look.
How should I handle shading and highlights on hair?
Decide on a light source first and use value changes to read the form—shadows define volume while highlights show surface orientation. Keep highlights simplified into shapes that wrap around the hair’s curves and avoid detailing individual shiny strands unless you want a very polished look.
What’s the best way to draw different hair types (straight, wavy, curly, textured)?
Study each type and simplify it: straight hair uses long, flowing clumps; wavy hair has S-shaped rhythms; curly hair is tighter loops or coils; textured hair builds volume with varied, interlocking shapes. Use line weight and value contrasts to imply texture rather than trying to render every small detail.
How can I practice effectively without feeling overwhelmed by tutorials?
Do short, focused exercises like 5–10 minute hair studies, thumbnails, and copying reference photos to build pattern recognition and speed. Follow a few reliable tutorials for fundamentals, then apply what you learn in small character sketches and seek feedback to track progress.