Effortless Elegance: Mastering the Perfect Bun Hairstyle in Minutes
Sixty percent of women prefer a bun hairstyle for its versatility and elegance, making it a timeless choice for any occasion. Whether you’re heading to work, a party, or a casual outing, mastering this style can enhance your look effortlessly.
Creating a bun hairstyle involves gathering your hair, twisting it, and securing it with hair ties or pins. Choose the bun type—messy, sleek, or low—based on your preference for an easy yet stylish finish.
Exploring Types of Bun Hairstyles
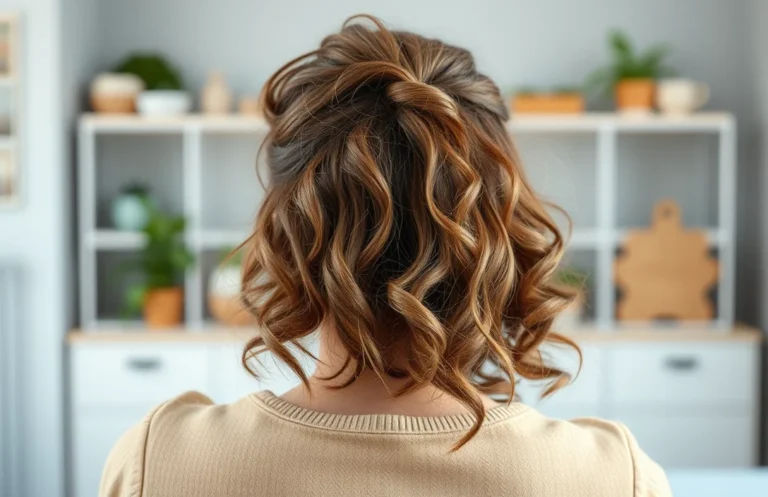
Classic buns offer a timeless elegance, making them perfect for formal events or everyday wear. To create a classic bun, gather all your hair into a high or low ponytail, twist the hair around the base, and secure it with bobby pins. This style suits various hair lengths and textures, providing versatility for different occasions.
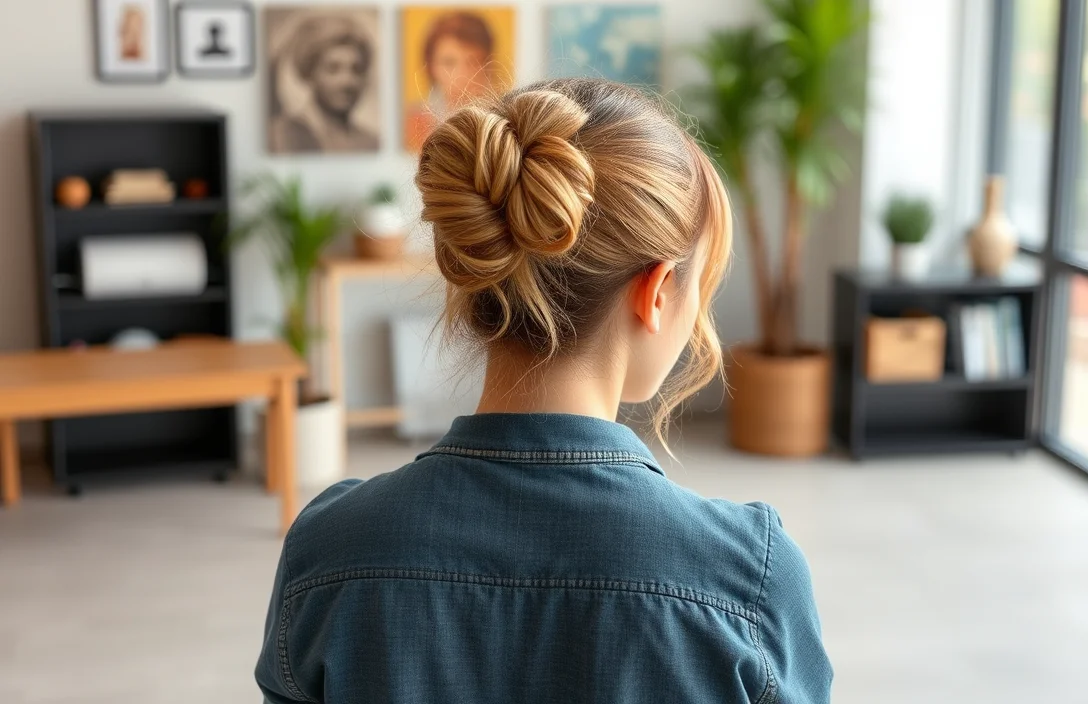
Messy buns deliver a relaxed, effortless vibe ideal for casual outings or lazy days. Begin by pulling your hair into a loose ponytail, then twist and pin sections of hair in a carefree manner. Allow some pieces to fall out for that intentionally tousled look. This style works beautifully with layered or textured hair.
Low buns exude sophistication, perfect for professional settings or polished looks. Start by gathering hair at the nape of your neck, then twist and secure it with pins. You can keep it sleek or slightly tousled depending on your desired aesthetic. This style is excellent for showcasing earrings or necklines.
Top knots represent a trendy, high-fashion choice. Pull hair into a high ponytail, twist it into a tight knot, and secure it with hair ties or pins. This style emphasizes facial features and works well for both casual and chic outfits. Perfect for busy days, it keeps hair out of your face while looking stylish.
Braided buns combine intricate braid patterns with a classic bun. Braid sections of hair before wrapping them into a bun, creating an eye-catching look. This style is fantastic for special occasions or festivals, adding texture and dimension to your hairstyle. Experiment with different braid styles to customize your look.
Essential Tools and Products Needed
Hair ties are essential for securing your bun. Look for elastic bands that are strong yet gentle on your hair. Opt for ones that match your hair color for a seamless look or go for clear options that are virtually invisible.
Bobby pins play a crucial role in holding your bun in place. Choose sturdy pins that won’t easily slip out. A few packs in different sizes can help you achieve the perfect shape and security.
A fine-tooth comb helps create a smooth, polished finish. Use it to gather your hair neatly and eliminate any tangles. This tool is vital for achieving that sleek look before styling.
Hair spray provides extra hold and keeps flyaways at bay. Select a lightweight formula that won’t weigh your hair down. A good spray can make a significant difference in how long your bun lasts throughout the day.
A donut bun maker can be a game changer for achieving volume effortlessly. This tool allows you to create a fuller bun without excessive styling. Look for one that suits your hair length and thickness for optimal results.
Step-by-Step Instructions for a Classic Bun
Begin with clean, dry hair. To create a classic bun, brush through your hair to eliminate tangles and ensure a smooth finish. If your hair is fine or slippery, consider using a texturizing spray or a light mousse to add grip. This will help the bun stay secure throughout the day.
- Gather hair into a high ponytail. Using your hands, pull all of your hair to the desired height on your head, securing it with a hair tie. Ensure the ponytail is tight enough to stay in place but not so tight that it causes discomfort.
- Twist the ponytail to form a bun. Starting at the base of the ponytail, twist the hair around itself, creating a coil. The tighter you twist, the neater the bun will look.
- Wrap the twisted hair around the base. Continue to wrap the twisted hair around the base of the ponytail, forming a circular shape. Aim for a uniform appearance as you go.
- Secure the bun with bobby pins. Use multiple bobby pins to anchor the bun in place, inserting them into the base at various angles for better hold. Make sure they blend in with your hair color for a seamless look.
- Finish with hairspray. To keep your hairstyle intact, lightly mist the bun with hairspray. This adds hold and reduces flyaways, ensuring your classic bun looks polished all day.
Adapting Bun Variations for Occasions
Casual events benefit from relaxed buns. Opt for a loose, messy bun that embraces imperfections. Allow some strands to fall freely around your face for a laid-back look. Use texturizing spray to enhance volume and give it that effortless vibe. This style works well for brunches or casual outings.
Formal occasions require a polished appearance. Choose a sleek, structured bun that showcases elegance. Secure it tightly at the nape or crown of your head, depending on your preference. Hair gel or pomade can help achieve a smooth finish and keep flyaways at bay. This style is perfect for weddings or business events.
Special themed events allow for creativity. Consider adding accessories like decorative pins or floral elements to your bun for a unique touch. These additions can transform a standard bun into something festive, making it suitable for parties or celebrations. Ensure that the accessories complement your outfit for a cohesive look.
Seasonal variations also play a role. In warmer months, opting for a bun that keeps hair off your neck is practical. For cooler seasons, a bun with added layers or curls can provide visual interest and warmth. Adapting your hairstyle to the season can enhance comfort and style.
Avoiding Common Mistakes While Styling
Overusing hair products can weigh down your bun. Applying excessive gel, mousse, or hairspray creates a stiff look, detracting from the intended elegance. Instead, focus on using a minimal amount to enhance texture without compromising the style’s fluidity.
Neglecting to secure your hair properly leads to slippage and disarray. Ensure all sections of hair are firmly gathered before creating your bun. This prevents loose strands from disrupting your polished appearance.
Rushing the styling process often results in uneven sections. Take time to smooth out any bumps and ensure all hair is aligned. A well-prepared base is crucial for a flawless bun.
Exposing hair to extreme temperatures can cause damage. Avoid using high heat on your hair without proper protection. Always apply a heat protectant before using styling tools to maintain hair health.
- Skipping hair ties can cause problems. Use high-quality, non-slip hair ties to keep your bun secure. This prevents breakage and ensures longevity.
- Forgetting to check your bun from multiple angles leads to oversight. Use a mirror to inspect your style from the front, back, and sides to ensure everything looks balanced.
- Ignoring hair texture differences can affect the outcome. Understand how your hair type reacts to different techniques to achieve the best results.
Securing Your Bun Effectively
Use bobby pins strategically for security. Begin with two to three bobby pins, inserting them into the bun at different angles. This crisscross pattern helps anchor the hair, making it less likely to slip throughout the day. Make sure to choose pins that match your hair color for a seamless look.
Consider using a strong-hold hairspray after styling. Lightly mist the finished bun with hairspray to set the style in place. Opt for a product that offers flexible hold; this ensures your bun remains intact without feeling stiff or crunchy. Reapply throughout the day if needed.
Incorporate hair ties as needed for additional support. If your hair is thick or long, use an elastic band to secure the base of the bun before adding pins. This extra layer of support allows for better stability, preventing any sagging or loosening during wear.
Check your bun periodically throughout the day. A quick glance in a mirror can help you identify any areas needing a touch-up. Adjust pins or reapply hairspray as required to maintain the look, ensuring your bun stays polished from morning to night.
Bun Hairstyles for Short Hair
Creating a bun with short hair requires using the right techniques. Start by gathering your hair into a ponytail at the desired height. Use a hair tie to secure it tightly. Be mindful of the length; if hair is too short to wrap around, consider using a hair donut or a scrunchie to create volume and shape.
Incorporating bobby pins effectively is crucial. Once your ponytail is secure, twist the hair around the base to form the bun. Use bobby pins to pin the bun into place, ensuring it holds well without slipping. Make sure to distribute the pins evenly for a balanced look.
Experimenting with textures can enhance your style. Consider adding waves or curls to your hair before styling. This adds dimension and allows for a more effortless appearance. Textured hair tends to grip better, making the bun more secure.
Accessorizing can elevate the final look. Use decorative pins, clips, or even scarves to embellish your bun. This not only personalizes the hairstyle but also draws attention to the updo, making it suitable for various occasions.
Practicing different techniques ensures versatility. Try varying the height and tightness of your bun to find what works best for you. With each attempt, you’ll discover new styles and methods that suit your hair length and texture.
Quick Summary
- Start with clean, dry hair for the best hold and style.
- Gather hair into a high or low ponytail, depending on your desired bun placement.
- Secure the ponytail with a hair tie to keep it in place.
- Twist the ponytail and wrap it around the base to form the bun.
- Secure the bun with bobby pins for extra hold and to prevent it from unraveling.
- Use hairspray for a polished finish and to tame any flyaways.
- Add accessories like hairpins or flowers for a decorative touch, if desired.
Frequently Asked Questions
What tools do I need to create a bun hairstyle?
To create a bun hairstyle, you will typically need a hairbrush, hair ties, bobby pins, and optional items like hair gel or hairspray for hold. Depending on the style, a donut bun maker can also be helpful for a fuller look.
How do I prepare my hair for a bun?
Start with clean, dry hair for the best results. You can style your hair with a bit of mousse or heat protectant if you’re using heat tools, then brush it to remove any tangles before gathering it into a ponytail.
What is the easiest way to create a simple bun?
A simple way to create a bun is to gather your hair into a high ponytail, twist the hair around the base, and secure it with a hair tie. Use bobby pins to secure any loose strands and finish with hairspray if desired.
How can I make my bun last all day?
To ensure your bun lasts all day, start with clean, slightly textured hair for better grip. Use a strong-hold hairspray and avoid pulling too tightly when securing the bun, as this can lead to slippage.
Can I create a bun with short hair?
Yes, you can create a bun with short hair! Use a few bobby pins to twist and pin sections of hair into place, or consider using a small hair donut to help create the bun shape. Styling products can also help keep shorter strands in place.