Transform Your Look: 5 Easy Steps to Color Hair at Home
According to recent surveys, over 70% of people have attempted to color their hair at home, driven by the desire to save money and achieve a salon-quality look. With the right guidance, you can join them and achieve beautiful results without breaking the bank.
Follow step-by-step instructions, gather essential tools, and prioritize safety measures to ensure a satisfying experience. Don’t let confusion hold you back; with practice, you’ll master home hair coloring in no time.
Choosing the Right Hair Color
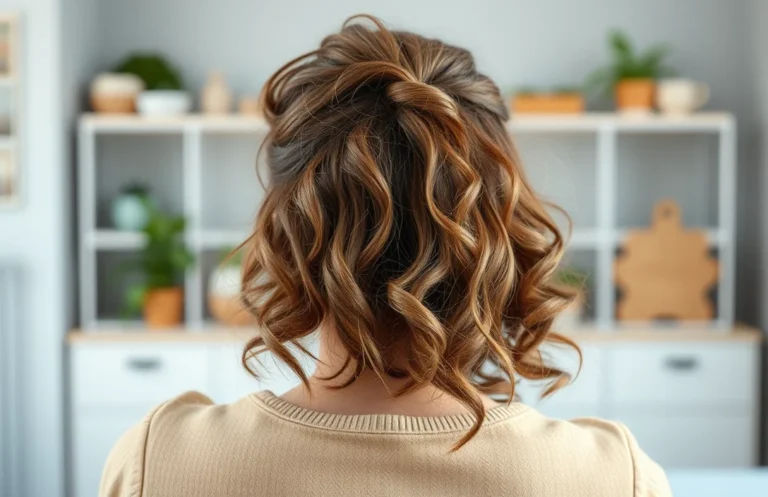
Select a shade that complements your skin tone. Warm undertones benefit from golden, honey, or caramel hues. Cool undertones look great with ash, platinum, or burgundy shades. Neutral undertones can choose a wide range of colors, including both warm and cool options. Test a few shades to see what you like best.
Consider your natural hair color as well. Lighter shades can be achieved more easily on blonde or light brown hair, while darker colors may require more effort on darker hair. If you’re unsure, opt for a semi-permanent dye to experiment without a long-term commitment.
Review color swatches available on dye boxes. Manufacturers usually provide a visual guide to help you match the color to your hair type. Comparing these swatches to your natural hair in natural light will help you make the best decision.
Research common color mistakes to avoid. Choosing a color that’s too far from your natural shade can result in an unnatural look. Always opt for a shade close to your existing hair color for the most flattering result.
Ask for advice from professionals or friends with coloring experience. Gathering opinions can offer fresh perspectives and help ease any doubts you may have about your choice. Trusting your instincts while seeking feedback is key to finding your perfect color.
Preparing Hair for Coloring
Clean hair ensures optimal dye application. Wash your hair with a gentle shampoo to remove any product buildup. Avoid conditioner on the day of coloring, as it can create a barrier that prevents the dye from penetrating the hair shaft. Let your hair dry naturally, as wet hair can dilute the dye and affect the final color.
- Brush your hair thoroughly. Remove any tangles or knots before you begin. Smooth hair allows for even color distribution, minimizing patchiness.
- Conduct a strand test. Before applying dye to your entire head, test a small section of hair. This helps you see how the color will appear and ensures no allergic reactions occur.
- Gather necessary tools. Assemble gloves, an applicator brush, and a mixing bowl. This preparation keeps your workspace organized and makes the coloring process smoother.
- Protect your skin and clothes. Place an old towel around your shoulders and use petroleum jelly along your hairline to prevent dye stains on your skin. This simple step saves you from cleanup hassle.
- Section your hair. Divide your hair into manageable sections using clips. Working in sections ensures thorough coverage and helps maintain order during the application.
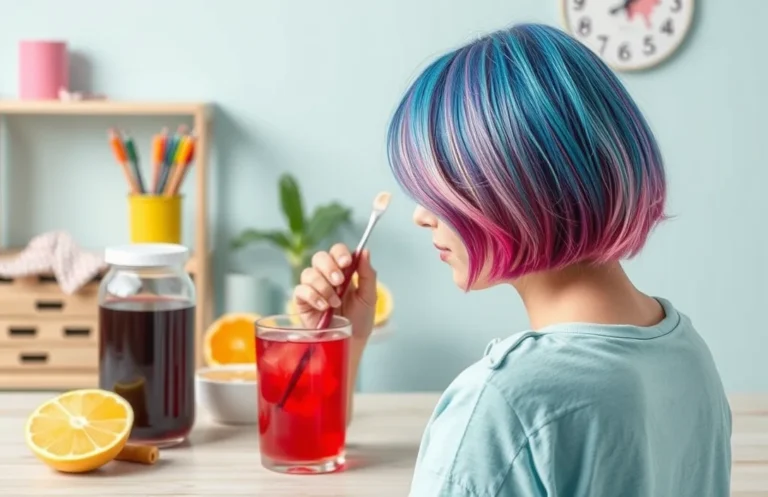
Overview of DIY Hair Color Kits
Permanent color offers true long-lasting coverage: it lifts and deposits pigment using peroxide and often ammonia, so use it for major color changes or full gray coverage. Demi-permanent (depositing, low lift) lasts ~20–24 shampoos and softens root/tonal changes. Semi-permanent fades after 6–12 washes. Temporary rinses wash out in 1–2 shampoos, perfect for quick trials when learning how to color hair from home.
Match kit strength to hair condition and goal: 10-volume developer deposits color without lift and works for tone-on-tone refreshes. 20-volume gives up to two levels of lift and is the safest choice for most at-home changes. 30–40-volume provide stronger lift but increase damage—avoid them unless experienced. For damaged or previously dyed hair, choose demi/semi kits and always do a strand test plus the 48-hour patch allergy test.
Application Techniques for Hair Color
Effective application is crucial for achieving a beautiful hair color at home. Following a structured approach ensures even coverage and minimizes mistakes. Here’s a step-by-step guide to get you started.
- Section hair into manageable parts. Divide your hair into four sections: two at the front and two at the back. Use clips to secure each section, making it easier to work through the color application systematically.
- Start applying color from the roots. Take a small section of hair from one of the back sections, and using an applicator brush, apply the color directly to the roots. Always work in small sections to ensure complete coverage.
- Work down to the ends carefully. After applying color to the roots, comb the product through to the ends of the hair using your fingers or a wide-tooth comb. Ensure that the color is evenly distributed for a consistent result.
- Check for missed spots frequently. After applying the color, periodically check for any areas that may have been missed. Use a handheld mirror or ask someone to help you spot these areas.
- Set a timer according to the instructions. Follow the timing guidelines on your hair color kit to avoid over-processing. Keep an eye on the clock to ensure you achieve the desired shade without damaging your hair.
Post-Color Care and Maintenance
Maintaining vibrant color requires proper care. Start by using color-safe shampoos and conditioners specifically formulated to protect hair color. Regular use of these products helps prevent fading and keeps hair looking fresh.
- Wash hair less frequently. Limit washing to 2-3 times per week to extend color life. This helps retain natural oils and moisture.
- Rinse with cool water. After washing, use cool water to rinse hair, sealing the cuticle and locking in color.
- Apply deep conditioning treatments. Once a week, use a deep conditioning mask to nourish and restore moisture to your hair.
- Avoid heat styling tools. Minimize the use of blow dryers, straighteners, and curling irons to prevent damage and fading.
- Protect from sun exposure. Wear a hat or use UV protection sprays when outdoors to shield hair from harmful rays.
Following these steps ensures your color stays vibrant and your hair remains healthy. Enjoy your new look with confidence!
Common Hair Coloring Mistakes
Skipping the patch test can lead to allergic reactions. Always perform a patch test 48 hours before applying color to your entire head. Apply a small amount of dye to a discreet area on your skin, like behind the ear. If you experience any irritation, redness, or swelling, do not proceed with the coloring process.
- Neglecting to read instructions carefully often results in uneven color. Each product comes with specific application directions. Ensure you follow the guidelines related to timing, mixing ratios, and application techniques for the best results.
- Overlooking the importance of pre-color conditioning can damage your hair. Use a deep conditioning treatment a week before coloring to prepare your hair. Healthy hair absorbs color better and results in a more vibrant finish.
- Rushing through the application process leads to uneven color distribution. Take your time to section your hair and apply the dye systematically. This ensures every strand is coated, resulting in a uniform look.
- Ignoring the need for proper tools can hinder your results. Invest in a good quality applicator brush and bowl to mix your dye. These tools allow for precise application and help avoid messy results.
- Failing to follow up with appropriate aftercare can diminish your color. Use sulfate-free shampoos and conditioners designed for color-treated hair. This helps maintain vibrancy and prevents premature fading.
Quick Summary
- Choose the right hair color that complements your skin tone and desired look.
- Gather all necessary supplies, including gloves, a mixing bowl, and a brush for application.
- Perform a patch test 48 hours before coloring to check for allergic reactions.
- Follow the instructions on the hair dye package carefully for the best results.
- Section your hair for even application, starting from the roots and working down to the tips.
- Monitor the processing time to avoid over-developing the color.
- Rinse and condition your hair thoroughly after coloring to maintain its health and shine.
Frequently Asked Questions
1. What supplies do I need to color my hair at home?
To color your hair at home, you’ll need a hair dye kit, gloves, a bowl and brush for mixing and applying the dye, an old towel to protect your clothes, and a comb for sectioning your hair. Don’t forget to have a timer handy to ensure you leave the dye on for the right amount of time!
2. How do I choose the right hair color for me?
When selecting a hair color, consider your skin tone and eye color. It’s often helpful to choose a shade that complements your natural coloring; warm tones generally work well for those with warm skin undertones, while cool tones suit cooler complexions.
3. Is it safe to dye my hair at home?
Yes, dyeing your hair at home can be safe if you follow the instructions provided with the dye kit. Always perform a patch test 48 hours before applying the color to check for any allergic reactions, and make sure to work in a well-ventilated area.
4. How can I avoid common mistakes when coloring my hair?
To avoid mistakes, read the instructions thoroughly before starting, and take your time during the application process. Section your hair to ensure even coverage, and if you’re going for a drastic change, consider starting with a semi-permanent dye to see how you like the color.
5. What should I do if the color turns out differently than expected?
If the color doesn’t turn out as planned, you can try a color remover or wait a few weeks and re-dye it in a different shade. Always consult a professional if you’re unsure or if the outcome is significantly different from what you desired.