Can You Curl Hair After Keratin Treatment?
You just spent a small fortune on a salon treatment to get that perfect, frizz-free finish, and now you are terrified a curling iron might ruin it all. It is a valid fear because improper heat can strip the smoothing proteins right out of your strands. I will show you how to style your hair safely without wasting your investment.
Curling hair after a keratin treatment is safe provided you wait at least 72 hours for the treatment to fully set. Once that window passes, use a sulfate-free heat protectant and keep your curling iron temperature at or below 350 degrees Fahrenheit to prevent damage.
Best for: All hair textures. Use caution if: Hair is extremely fine or chemically bleached.
Can You Curl Hair After Keratin Treatment?
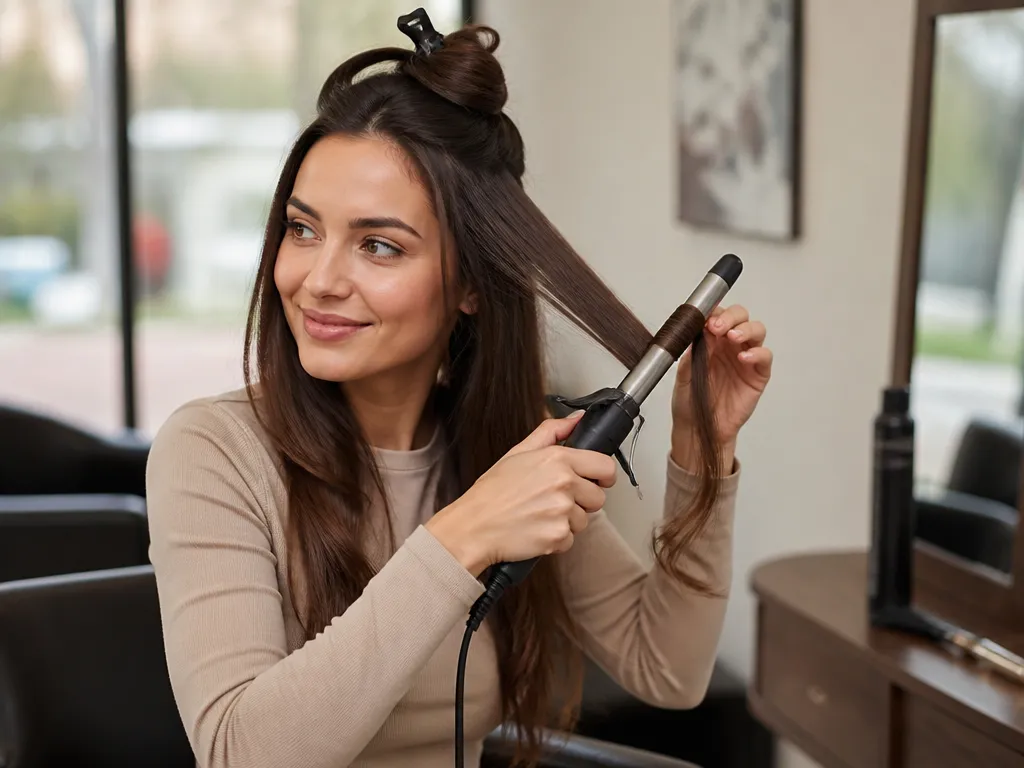
Curling right after a keratin treatment can shorten its lifespan because the hair is still settling and curing. Most stylists require a waiting window of 72 hours before using heat styling tools, including curling irons and hot rollers. If you can’t wait, the safest “almost no-risk” option is holding style using pins and lightweight setting spray on dry hair.
The 72-hour rule matters because the treatment is still locking into the hair cuticle and smoothing the fiber. During this period, heat and moisture can trigger early reversion, so you may notice less shine, faster frizz return, or curls that fall quicker than usual. This is especially true if your appointment involved strong smoothing products or if your hair is porous or chemically processed (color, relaxers, previous straightening).
Why The 72-hour Rule Matters
Keratin smoothing bonds typically need time to stabilize, and heat is the biggest variable you control at home. Heat also redistributes oils and product residue, which can make the first curls look good initially, then loosen dramatically once the surface “sets.” For best results, treat the first three days like your hair’s recovery phase.
Keratin longevity tip: if you have to style earlier than planned, choose a non-heat method like pin curls or roller sets that cool fully without warming the hair.
Readiness signs are simple, but they’re the truth-tellers. Your hair is generally ready for heat when it feels fully dry from root to tip, has no lingering “tacky” texture, and your scalp is not irritated by product buildup.
In practice, your hair should also hold a light bend temporarily without puffing back instantly.
| Sign your hair is ready | What it looks like | What to avoid |
|---|---|---|
| Dry, smooth surface | No dampness near the crown or ends | Using heat on any cool, damp sections |
| No tacky residue | Hair feels glidey, not sticky | Heavy oil or gel right before heat |
| Stable shape | Small sections bend, then relax evenly | Clamping too hard or repeated passes |
Hair type changes the timeline and risk level. Fine, fragile, or highly porous hair may need the full 72 hours and a lower temperature, while thicker, coarser hair can tolerate heat better but still needs protection for shine and curl definition. Curly or color-treated hair often reverts faster, so start with shorter contact time and cooler settings even after the waiting period is up.
Identify Your Hair Texture And Health
Hair porosity and how much the cuticle is lifted after a smoothing treatment determine curl holding more than the brand or method. High porosity hair holds a curl for a shorter window and needs gentler heat and stronger styling hold, while low porosity hair can take longer to set because moisture and heat do not penetrate as easily.
Assess porosity by doing two quick at-home checks. Float test: place a clean strand in a cup of water, if it sinks in under a few seconds you are likely high porosity; if it floats for a long time you are likely low porosity; if it hovers in between, you are medium. Heat retention check: after rinsing and fully blot-drying, feel how quickly your hair cools, high porosity cools fast and low porosity holds heat longer.
In practice, those results change your timing. Low porosity hair often benefits from slightly longer setting time with lower heat, while high porosity hair needs more caution because the cuticle can open further under direct heat. If your hair feels rough, tangles easily, or looks “frizzy” even when it is clean, treat it as damaged, because damage increases moisture loss and makes curls drop sooner.
For example, if you have oily to combination scalps with fine, quickly absorbing hair (often medium to high porosity), curls may fall fast because the hair drinks moisture and loses it quickly. For thick, coarse hair that repels water (often low porosity), curls may take longer to set, so cooling time matters as much as temperature.
Dermatology-adjacent safety note: if your scalp is burning, itchy, or inflamed after the treatment, avoid heat and harsh styling products until it calms. For sensitive scalps, do patch testing with any new leave-in or styling product on a small area behind the ear.
| Hair Porosity / Condition | Heat Retention | Best Curl Approach (Heat-Friendly) | When to Avoid Heat |
|---|---|---|---|
| Low porosity (smooth, slower to absorb water) | Holds warmth longer | Lower heat, longer cool-down, tighter curl placement | Visible dryness, breakage, scalp irritation |
| Medium porosity (balanced) | Moderate warmth retention | Moderate heat, curl hold products, cool fully before release | Gummy wet feel, excessive shedding |
| High porosity (dries fast, floats in water) | Cools quickly | Lowest practical heat, heat-free or clamp-light styling, prioritize hold and cooling | Rough, tangly hair that seems brittle or breaking |
Essential Products For Keratin-treated Hair
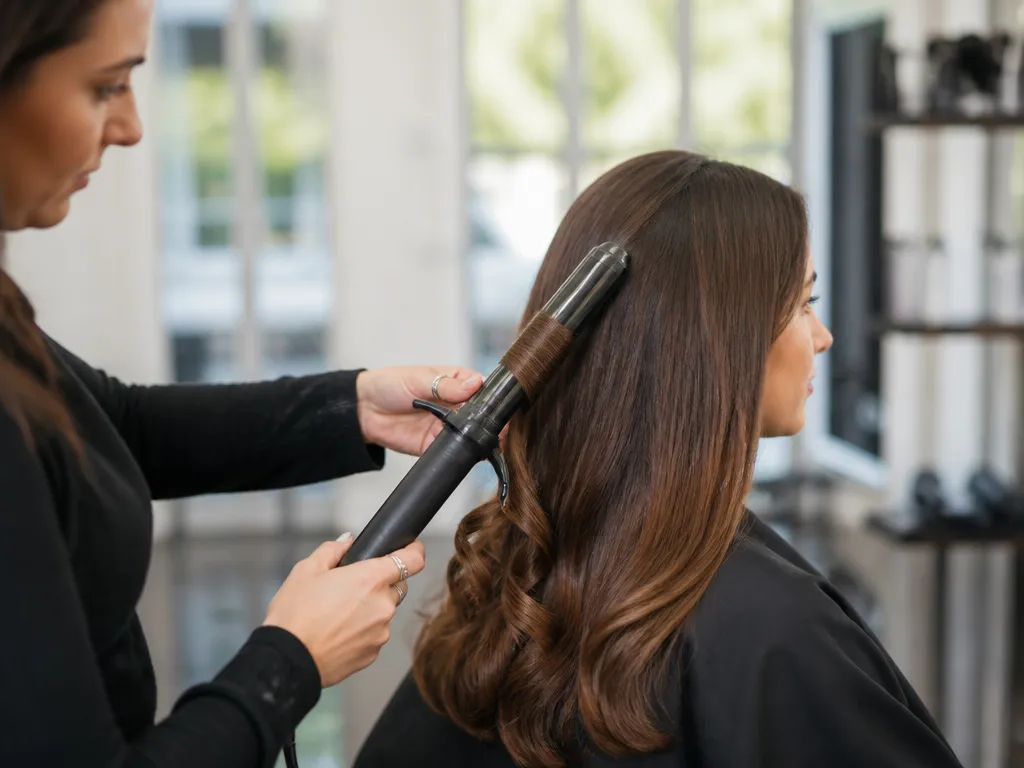
Sulfate-free heat protectants are essential for curling after a keratin treatment. They shield the keratin bond from high heat and help prevent moisture loss that can weaken the smooth coating. Look for formulas with heat-activated polymers and light silicones, avoiding heavy waxes that weigh hair down.
| Item | Amount/Specification | Notes |
|---|---|---|
| Sulfate-free heat protectant spray or cream | 6 – 12 oz bottle; apply to damp hair before curling; reapply as needed | Choose a formula with polyquaternium-11 and lightweight silicones like dimethicone or cyclopentasiloxane. Avoid heavy waxes that leave residue on keratin-treated hair. Works well for all hair types, including fine and thick textures. |
| Leave-in conditioner with hydrolyzed keratin and panthenol | 1 – 2 pumps or light dollop; distribute from mid-length to ends | Provides slip and moisture without weighing hair down. Patch test for fragrance if sensitive. Suitable for all textures, including those with delicate keratin bonds. |
| UV/heat protectant serum with humidity resistance | 1 – 2 drops or a pea-sized amount; focus on mid-lengths to ends | Helps shield from sun exposure and humidity. Choose alcohol-free formulas to prevent drying. Patch test recommended. |
| Lightweight finishing spray or cream with flexible hold | Lightly mist or apply a small amount at the ends | Sets curls without weighing down bonds. Avoid alcohol-heavy sprays that can dry hair and compromise shine. |
| Sulfate-free clarifying shampoo (optional) | Use 1 – 2 times per month if buildup becomes noticeable | Choose a mild formula and avoid sulfate-heavy options. Clarifying helps remove styling-residue without stripping keratin when used sparingly. |
Safe Curling Techniques For Smooth Hair
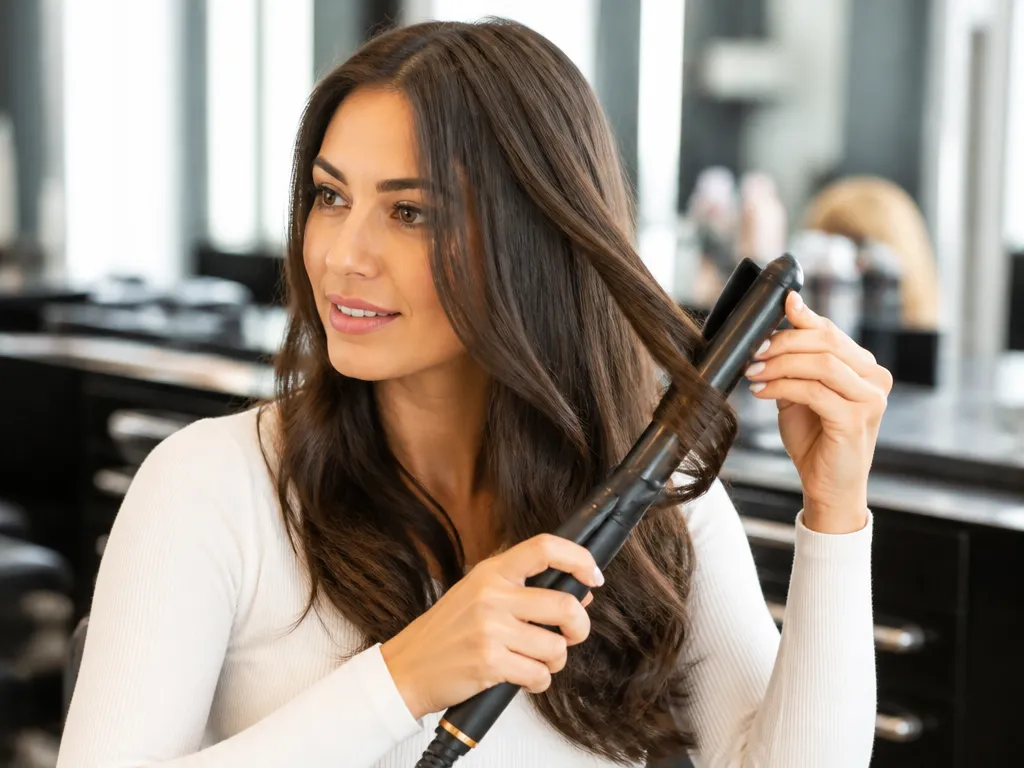
Once the waiting period has passed, curl with low heat and short contact times. This approach works across hair textures and skin tones, and keeps the keratin smooth while giving you lasting shape.
Common Mistakes That Ruin Keratin Results
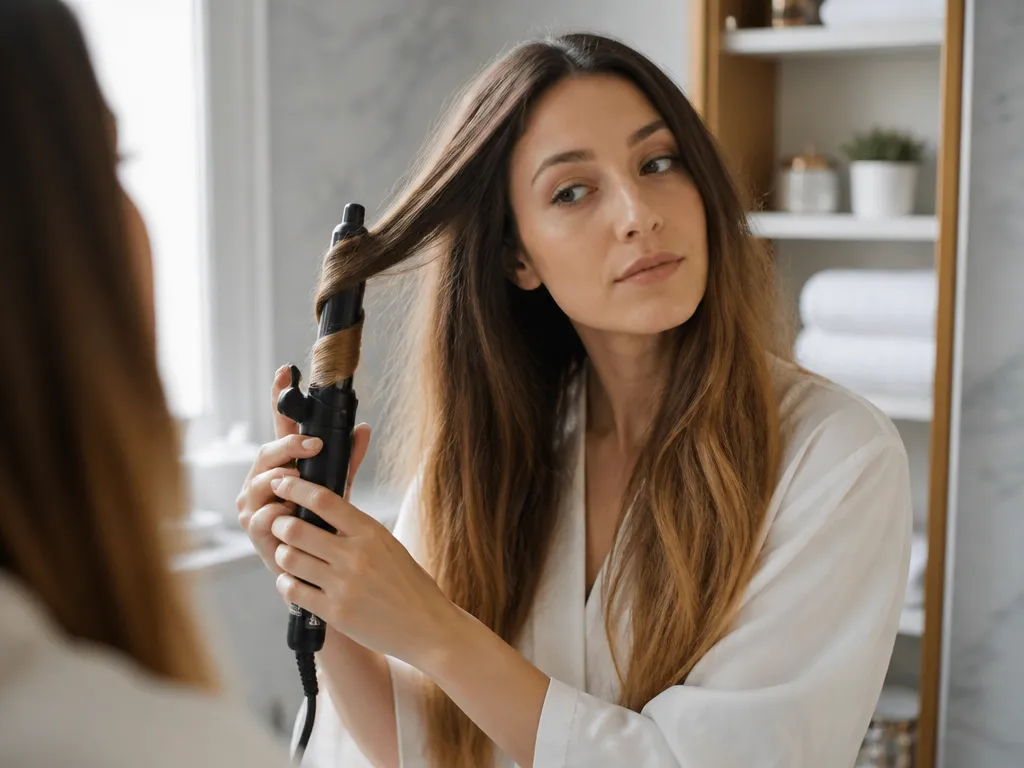
Excessive heat settings on styling tools strip the protective protein coating from your hair strands. Using temperatures above 350°F (175°C) can melt the keratin bond, causing the smoothing effects to wash out much faster than intended.
Mechanical tension from improper accessories also compromises the treatment. Tight hair ties, heavy metal clips, or rubber bands can create permanent creases in the hair cuticle while the treatment is still settling.
Heat And Tool Mismanagement
High-temperature styling is the primary culprit behind premature fading. Many users assume that because their hair feels smoother, they can use professional-grade heat without consequence. This assumption leads to rapid degradation of the smoothing agent.
For example, using a flat iron set to 450°F to quickly “fix” a stray hair can create micro-damage. This heat breaks the chemical bonds that hold the keratin to the hair shaft, leading to frizz and loss of shine within weeks.
Stylist tip: Always check your curling iron or flat iron for a precise temperature control dial. If your tool only has “Low, Medium, and High” settings, avoid using it on hair that has recently undergone a smoothing treatment.
Avoid these common styling errors to preserve your investment.
Physical Damage And Creasing
Physical manipulation of the hair during the first few days post-treatment is a significant risk. The hair structure is temporarily more malleable and susceptible to shape changes.
| Mistake | Impact on Hair | Better Alternative |
|---|---|---|
| Tight elastic bands | Permanent indentations | Silk scrunchies |
| Heavy metal clips | Cuticle disruption | Large claw clips |
| Over-brushing | Friction-induced frizz | Wide-tooth combs |
In practice, many people attempt to pull their hair back into a tight ponytail immediately after their salon visit. This often results in a visible “dent” in the hair that is difficult to remove without re-styling the entire head.
Stick to loose styles like a low braid or a silk scrunchie to minimize pressure. This approach keeps the hair smooth and prevents the mechanical stress that leads to uneven texture.
Heatless Alternatives For Lasting Waves
Heatless styling preserves the integrity of your keratin treatment by avoiding the thermal breakdown of the protein bonds. Relying on physical manipulation rather than high-temperature tools keeps your hair cuticle smooth and prevents the premature frizz that often follows excessive heat exposure.
Silk Rollers And Rods
Silk or satin-covered rollers provide the best results for hair that has undergone a chemical smoothing process. These materials minimize friction, which is essential because keratin-treated strands are prone to snagging if the surface tension is too high.
Professional Tip: Use a silk pillowcase to prevent hair breakage and maintain the smoothness of your keratin treatment while you sleep.
Braiding Techniques
Braiding is a highly effective way to create natural, beachy waves without any risk of thermal damage. The tightness of the braid determines the final texture, with tighter plaits producing smaller waves and loose braids creating soft, voluminous movement.
| Technique | Resulting Texture | Best For |
|---|---|---|
| Single Loose Braid | Soft, subtle waves | Fine to medium hair |
| Double Dutch Braids | Defined, crimped waves | Thick or coarse hair |
| French Braid | Uniform, consistent waves | All hair types |
For best results, braid your hair when it is slightly damp, but never soaking wet. Braiding hair that is too wet can lead to a musty smell or scalp irritation, as the moisture remains trapped in the tight weave for too long. Always finish with a tiny amount of argan oil on the ends to seal the cuticle and add shine before you begin the braiding process.
Professional Tips For Salon-quality Results
Heat styling requires a disciplined approach to maintain the structural integrity of a keratin-treated mane.
Optimizing Style Longevity
Lightweight serums act as a protective barrier between your hair cuticle and the heat source. Choose formulas containing cyclomethicone or dimethicone because these silicones provide thermal protection and smooth flyaways without adding heavy weight to the hair shaft.
Esthetician tip: Apply your styling serum to damp hair before blow-drying to ensure even distribution. Avoid oil-heavy products near the roots if you have fine hair, as this leads to rapid buildup and a lack of volume.
Touch-up strategies focus on minimizing direct heat exposure to sections that already look smooth. Concentrate your curling iron only on the mid-lengths and ends, leaving the roots untouched to maintain the sleek, salon-finished appearance of the treatment.
| Tool Type | Heat Setting | Best For |
|---|---|---|
| Ceramic Wand | Low (280-300F) | Fine or damaged hair |
| Titanium Iron | Medium (320-350F) | Coarse or thick hair |
Consistency in your routine determines how long the results last.
Texture and density dictate the specific heat levels you should select for your styling sessions. Those with thin, porous hair benefit from the lowest possible heat settings, while those with coarse, resistant hair handle slightly higher temperatures, provided they use a quality heat protectant spray every single time.
Quick Summary
Curling hair after a keratin treatment is safe when your hair is fully dry, lacks tacky residue, and can hold a light bend. To protect your investment, use a heat protectant and ensure all hair products are free of sulfates and sodium chloride to maintain the smoothing effects.
Those with high porosity hair, which sinks quickly during a water float test, may need lower heat settings. In contrast, low porosity hair holds heat longer and may require more time to set. The most important takeaway is to assess your hair porosity and health before applying any thermal tools.
| Guideline | Requirement |
|---|---|
| Wait Time | 72 Hours |
| Max Temperature | 350 Degrees Fahrenheit |
| Product Type | Sulfate and Sodium Chloride Free |
Frequently Asked Questions
How Long Should I Wait Before Curling My Hair After A Keratin Treatment?
Follow the full post-treatment waiting window before curling or applying heat to keratin treated hair. In that window, avoid washing and tying hair tightly to protect the treatment.
Can I Curl My Hair After Keratin Treatment If I Have A Sensitive Scalp Or Acne Prone Skin?
Yes, curling is usually safe with a keratin treatment, but protect the scalp by avoiding direct heat on skin and using a patch test if you have sensitivities. If you have active irritation, postpone curling and consult your stylist or dermatologist.
What’s The Difference Between A Professional Keratin Treatment And A Keratin Smoothing Serum For Curls?
A professional keratin treatment bonds keratin to the hair and typically lasts about 6 to 8 weeks, while at-home keratin smoothing serums or kits last about 2 to 4 weeks and generally provide less dramatic straightening.
Do I Really Need To Use A Heat Protectant Before Curling After A Keratin Treatment?
Yes, you should always use a heat protectant when curling after keratin; it helps prevent damage, and look for formulas that protect up to 350F.
Is The Expensive Salon Keratin Treatment Worth It Vs A Drugstore At-home Keratin Product For Curling Results?
In general, a salon keratin treatment is worth it if you want longer lasting results and less frizz, typically 6 to 8 weeks of smoother hair; a drugstore kit is cheaper upfront and can last 2 to 4 weeks but may require more effort and provide less dramatic smoothing.

- Pre-Poo Treatments for Low Porosity Hair: 7 Essential Steps - September 20, 2026
- What To Avoid After Prp Hair Treatment? - August 28, 2026
- What Is The Malibu Treatment For Hair? - August 27, 2026