Homemade Deep Conditioner for Hair: 12 DIY Recipes by Hair Type
A homemade deep conditioner is a thick, moisturizing treatment you mix from kitchen ingredients such as avocado, coconut milk, yogurt, honey, aloe vera and oils. Apply it to clean, damp hair, leave it on for 20 to 30 minutes, then rinse with lukewarm water. Most hair types do well with one treatment every one to two weeks. Match the recipe to your hair type, and always do a patch test first.
You do not need a shelf full of expensive jars to give your hair a proper drink of moisture. A ripe avocado, a bit of coconut milk and a spoonful of honey can do a surprising amount of good, and you probably have most of it at home already.
That said, not every recipe suits every head of hair. What softens thick, coily strands can weigh down fine hair. What repairs heat damage might be too heavy for a sensitive scalp. So this guide is organized by hair type, with 12 recipes, clear amounts, and honest notes about what each one can and cannot do.
1. What Is a Homemade Deep Conditioner, and Does It Really Work?
A homemade deep conditioner is a rich treatment made from food grade ingredients that you leave on your hair longer than a regular rinse out conditioner. It works best as a moisture and softness boost, not as a miracle repair for badly broken hair.
What deep conditioning actually does
Hair is mostly keratin, wrapped in a thin outer layer of overlapping scales called the cuticle. When that layer is rough or lifted, hair feels dry, snags easily and looks dull. A deep conditioner coats the strand, smooths the cuticle and helps hair hold onto water, which is why it feels softer and looks shinier afterward.
Why kitchen ingredients can help
Oils and butters seal in moisture. Aloe vera and honey attract water. Avocado and banana add creamy slip and fatty acids. Yogurt brings a little protein and gentle acidity. Some research suggests coconut oil can reduce protein loss in hair, which is one reason it shows up in so many recipes.
What DIY treatments cannot do
They cannot permanently fix split ends, reverse chemical damage or grow hair faster. Once a strand is broken, only a trim removes it. What a good treatment can do is make hair easier to detangle, so you lose less of it to breakage in the shower and while styling.
Deep conditioner versus regular conditioner
Regular conditioner is a quick rinse out step after shampoo. A deep conditioner is thicker, stays on longer and is used less often. Here is how a homemade batch compares with a store bought jar.
| Option | Cost per use | Shelf life | Best for |
|---|---|---|---|
| Homemade deep conditioner | Low, often under one dollar | 1 to 3 days in the fridge | Custom recipes, ingredient control, simple routines |
| Store bought deep conditioner | Moderate to high | Months, thanks to preservatives | Convenience, consistent results, heavy damage |
2. Before You Start: Porosity, Protein and Patch Tests
Five minutes of prep saves you from the most common DIY disappointments, like greasy hair that will not rinse clean or a scalp that itches for hours.
Check your hair porosity
Porosity is how easily your hair absorbs and keeps moisture. High porosity hair drinks water fast but loses it just as quickly. Low porosity hair resists water, so products tend to sit on top. A simple test: drop a clean strand into a glass of water. If it sinks quickly, porosity is likely high. If it floats for a long time, it is likely low.
Decide whether you need moisture or protein
Both matter, but hair usually leans one way. This table gives you a quick read.
| What your hair needs | Common signs | Good ingredients |
|---|---|---|
| More moisture | Dry, rough, frizzy, tangles easily but still stretches | Avocado, aloe vera, coconut milk, honey, shea butter |
| More protein | Limp, mushy when wet, snaps quickly with little stretch | Plain yogurt, egg yolk, a small amount of your own protein conditioner |
Always do a patch test
Food ingredients can still cause reactions. Dab a small amount of the mix on your inner forearm, wait 24 hours and watch for redness, itching or swelling. Skip any ingredient you are allergic to, including honey, nuts, eggs, dairy and avocado, and speak to a doctor if you have a known skin condition.
Gather simple tools
You need a bowl, a fork or blender, a wide tooth comb, a shower cap or plastic wrap, and a clean towel you do not mind staining. A small squeeze bottle makes applying to the roots and ends much easier.
3. Best Ingredients for a DIY Deep Conditioner
You do not need dozens of ingredients. A few reliable ones, used in the right amounts, cover almost every hair need.
Oils and butters for sealing moisture
Olive oil, coconut oil, avocado oil, jojoba oil and shea butter all soften hair and reduce moisture loss. Use them in small amounts. One to two tablespoons is plenty for shoulder length hair, and fine hair may want even less.
Humectants and slip makers
Aloe vera gel and honey pull water toward the hair and make detangling easier. Flaxseed gel adds serious slip, which coily and curly hair types often love.
Creamy bases
Ripe avocado, banana, plain yogurt and canned coconut milk give a treatment its body. Blend them until completely smooth, otherwise you will be picking bits of fruit out of your hair for days.
Ingredients to be careful with
Undiluted lemon juice, vinegar, cinnamon and essential oils can irritate the scalp or dry hair out. Baking soda is too alkaline for regular use. If a recipe online tells you to leave any of these on for an hour, it is safer to skip it.
4. Recipes for Dry, Frizzy Hair
Dry hair wants fats, water and softness. These two recipes deliver all three without much fuss.
Recipe 1: Avocado and olive oil treatment
Ingredients: 1 ripe avocado, 1 tablespoon olive oil, 1 teaspoon honey. Method: Mash the avocado until silky, whisk in the oil and honey, apply to damp hair from mid length to ends, cover and leave for 25 minutes. This one leaves hair soft and heavy with moisture.
Recipe 2: Banana, coconut milk and honey
Ingredients: 1 very ripe banana, 3 tablespoons canned coconut milk, 1 teaspoon honey. Method: Blend until there are no lumps, apply to damp hair, and leave for 20 minutes. Rinse thoroughly, because banana can cling to strands if it is not fully blended.
Who these recipes suit
Both work well for medium to thick hair that feels dry, rough or frizzy in humid weather. If your hair is very fine, halve the oil or choose a lighter recipe from section 8.
What to watch out for
Avocado can be stubborn to rinse. Use lukewarm water and finger comb while rinsing. If your hair still feels coated, wash once with a gentle shampoo and follow with a light rinse out conditioner.
5. Recipes for Damaged and Heat Styled Hair
Hair that has been flat ironed, bleached or colored often feels straw like. These recipes focus on softness and a little strengthening.
Recipe 3: Yogurt, honey and olive oil
Ingredients: 1/2 cup plain full fat yogurt, 1 tablespoon honey, 1 tablespoon olive oil. Method: Whisk together, apply to damp hair, cover and leave for 20 minutes. Yogurt adds a touch of protein and mild acidity, which can leave hair feeling smoother.
Recipe 4: Coconut oil and aloe repair mix
Ingredients: 2 tablespoons melted coconut oil, 2 tablespoons aloe vera gel, 1 teaspoon honey. Method: Stir until blended, warm slightly between your palms, and work through hair in sections. Leave on for 30 minutes. It suits thick, dry, heat stressed hair best.
How to set expectations
Damaged hair will feel better after one treatment, but the change lasts only until the next wash or two. Consistency matters more than any single recipe. Regular treatments, gentle detangling and lower heat styling do far more than any mask alone.
When to trim instead
If the ends are split, frayed or tangle into knots even after conditioning, no recipe will fix them. A small trim every 8 to 12 weeks keeps damage from traveling up the strand.
6. Recipes for 4C, Coily and High Porosity Hair
Coily and high porosity hair often needs serious slip, plenty of water and a sealing layer on top. These two recipes are built around that idea.
Recipe 5: Shea, aloe and conditioner slip mix
Ingredients: 1 tablespoon melted shea butter, 2 tablespoons aloe vera gel, 3 tablespoons your favorite rinse out conditioner, 1 teaspoon jojoba oil. Method: Stir together while the shea is just warm, then apply in small sections on damp hair. Leave for 30 minutes under a cap.
Recipe 6: Flaxseed gel and avocado oil
Ingredients: 1/4 cup flaxseed gel, 2 tablespoons aloe vera gel, 1 tablespoon avocado oil. To make the gel: simmer 2 tablespoons of whole flaxseeds in 1 cup of water for 5 to 8 minutes, then strain while warm. Mix all three ingredients, apply, and leave for 20 to 30 minutes. Keep leftovers in the fridge for up to a week.
Why slip matters for coily hair
Tight coils create many bends where strands can snag on each other. Slippery ingredients let a comb glide through, which means less pulling and less breakage. If you are working on length retention, this pairs well with our guide on preventing 4C breakage.
Tips for high porosity hair
Finish with a cool water rinse and seal with a light oil while hair is still damp. High porosity hair loses water fast, so the sealing step is where you keep the benefit.
7. Protein Free and Light Protein Recipes
Too much protein can leave hair stiff and brittle, while too little can leave it limp. These two recipes sit at opposite ends so you can choose based on how your hair feels.
Recipe 7: Protein free coconut and aloe treatment
Ingredients: 1/4 cup canned coconut milk, 2 tablespoons aloe vera gel, 1 tablespoon avocado oil, 1 teaspoon honey. Method: Whisk until smooth, apply to damp hair, and leave for 20 to 30 minutes. Everything here is plant based and free of protein, so it suits hair that gets stiff or crunchy after protein products.
Recipe 8: Egg yolk, honey and olive oil
Ingredients: 1 egg yolk, 1 tablespoon honey, 1 tablespoon olive oil. Method: Whisk well, apply to damp hair and leave for 15 to 20 minutes. Rinse with cool or lukewarm water only, since hot water can scramble the egg in your hair. Use it fresh and never keep leftovers.
How to tell you used too much protein
Hair that feels rough, straw like or snaps when you stretch it is often overloaded with protein. Switch to Recipe 7 for a few weeks and see how it feels.
Who should skip egg
Anyone with an egg allergy, and anyone uncomfortable using raw egg on their scalp. Yogurt from Recipe 3 is a gentler way to add light protein.
8. Recipes for Fine, Low Porosity and Gray Hair
Fine and low porosity hair gets weighed down quickly, while gray hair is often coarser and drier. Lighter recipes and thinner layers work best for all three.
Recipe 9: Lightweight aloe and jojoba
Ingredients: 3 tablespoons aloe vera gel, 1 teaspoon jojoba oil, 1 tablespoon warm water. Method: Mix until loose and spreadable, apply to damp hair, and leave for 15 minutes. Jojoba is light and closely resembles the oils your scalp makes, so it rarely feels heavy.
Recipe 10: Oat milk and honey softener
Ingredients: 1/4 cup unsweetened oat milk, 1 tablespoon honey, 1 teaspoon almond oil. Method: Whisk, apply to damp hair, and leave for 20 minutes. It is gentle, easy to rinse and works nicely for gray or coarse strands that need softness without heaviness.
Use warmth for low porosity hair
Low porosity hair opens up a little with gentle warmth, so products penetrate better. Cover your hair with a cap and sit under a warm towel for the last ten minutes. Here is how heat and no heat compare.
| Method | How it works | Best for |
|---|---|---|
| With gentle heat (warm towel or hooded dryer on low) | Warmth helps the cuticle relax so ingredients absorb more easily | Low porosity, thick or very dry hair |
| Without heat (cap only) | Body warmth traps moisture and keeps the process gentle | Fine, high porosity or heat sensitive hair |
Keep it light on the roots
For fine hair, apply mostly from the ears down and keep the roots almost clean. That single habit prevents most of the flat, greasy feeling people blame on DIY treatments.
9. Recipes for Dry and Itchy Scalp
A dry scalp needs gentle hydration, not aggressive scrubbing. These two recipes focus on comfort and are meant for mild dryness only.
Recipe 11: Yogurt, aloe and honey scalp mask
Ingredients: 3 tablespoons plain yogurt, 2 tablespoons aloe vera gel, 1 teaspoon honey. Method: Mix, part the hair in sections, and massage lightly into the scalp for a minute. Leave for 15 to 20 minutes before rinsing well.
Recipe 12: Warm jojoba and castor oil pre wash treatment
Ingredients: 1 tablespoon jojoba oil, 1 teaspoon castor oil. Method: Warm the oils slightly, massage into the scalp with fingertips for two minutes, and leave for 20 minutes before shampooing. Use a clarifying or gentle shampoo to fully rinse it away.
When itching is not just dryness
Persistent itching, thick flakes, redness or sore patches can point to dandruff, dermatitis or another skin condition. A home mask will not treat those, and a doctor or dermatologist can. Do not keep piling on ingredients while symptoms get worse.
Keep the scalp clean and comfortable
Do not leave food ingredients on the scalp for hours. Rinse well, avoid scratching, and wash on a regular schedule that suits your hair type so buildup does not cause more irritation.
10. How to Apply a Homemade Deep Conditioner Step by Step
The recipe matters, but so does the routine. This simple order works for almost every hair type.
Start with clean, damp hair
Shampoo first so the treatment can reach the strands rather than sitting on product buildup. Squeeze out extra water until hair is damp, not dripping.
Section and apply
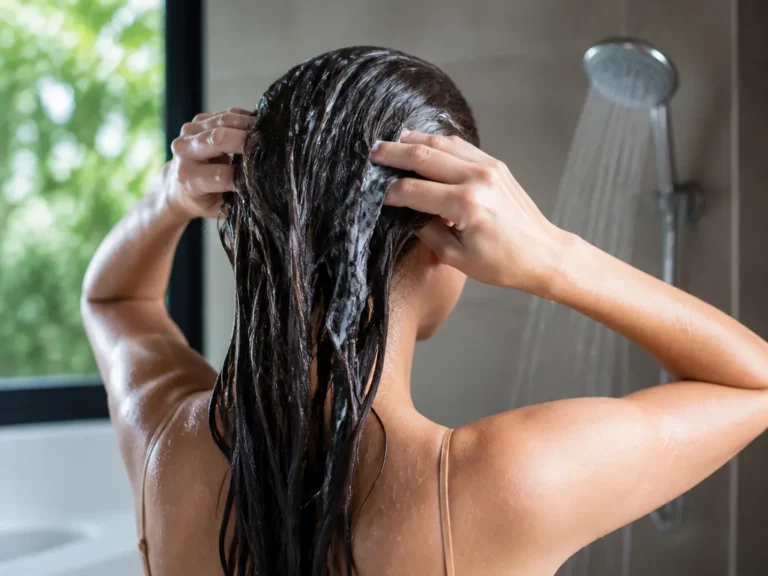
Divide hair into four sections, then apply the mixture from ends to mid length first, and the roots last if at all. Use your fingers and a wide tooth comb to spread it evenly.
Cover and wait
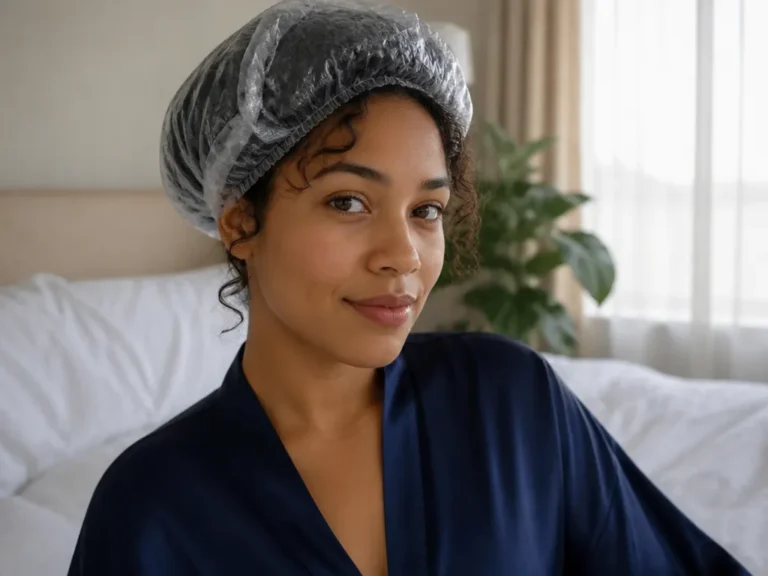
Wrap your hair in a shower cap or plastic wrap and wait 20 to 30 minutes. Staying longer rarely helps. Fresh ingredients like avocado or egg are best rinsed off within half an hour.
Rinse and finish
Rinse with lukewarm water until the water runs clear, then finish with a splash of cool water to help smooth the cuticle. Style as usual, and skip heavy products on top for the rest of the day.
11. How Often to Use It, How to Store It and Common Mistakes
Most problems with DIY treatments come from the routine around them, not the ingredients themselves.
How often to deep condition
Once every one to two weeks suits most people. Very dry, curly or coily hair can handle weekly treatments, while fine or oily hair often does best with once or twice a month.
How to store leftovers
Fresh mixes contain food, so they spoil quickly. Keep leftovers in a sealed jar in the fridge for one to three days, and throw them out if they smell sour, change color or grow mold. Recipes with eggs should be used right away.
Common mistakes to avoid
Using too much oil, skipping the patch test, leaving the mix on overnight, and rinsing with hot water are the big four. Another common one is chasing a new recipe every week. Give a recipe three or four uses before you decide it does not work.
When to buy instead
If you want a mix that lasts for months, or you need results on severely damaged or chemically treated hair, a well made store bought deep conditioner can be the more reliable choice. Look for a formula with fatty alcohols, humectants and a gentle preservative system, and check the ingredients against your patch test results and any known allergies.
12. Homemade Deep Conditioner FAQs
Can I use a homemade deep conditioner every day?
No. Daily use can build up weight and residue, especially with oils and butters. Stick to once a week or every two weeks and let your hair tell you when it needs more.
Which recipe is best for 4C hair?
Recipes 5 and 6 are good starting points because they give slip and hold moisture. If your hair feels stiff, switch to the protein free Recipe 7 for a few weeks.
Do homemade deep conditioners work on damaged hair?
They can soften and improve how hair feels, and they help reduce breakage from tangles. They cannot repair split ends or chemical damage, so pair them with trims and gentler styling habits.
Is it safe to leave a homemade deep conditioner on overnight?
It is better not to. Food ingredients can spoil, attract bacteria or irritate the scalp when left for long periods. Stay within 20 to 30 minutes and rinse well.
Final thought: Start with one recipe that matches your hair type, do the patch test, and treat it as an experiment for a month. Note how your hair feels after each wash, adjust the oil and protein to taste, and keep the routine simple. Healthy hair is built slowly, one calm wash day at a time.

- Natural Homemade Deep Conditioner for Natural Hair: Easy DIY Recipes - September 29, 2026
- From Kitchen to Cuticle: Natural Deep Conditioner Recipes for Every Hair Porosity - September 29, 2026
- Homemade Deep Conditioning Hair Conditioner: Natural Recipes for Soft, Healthy Hair - September 29, 2026