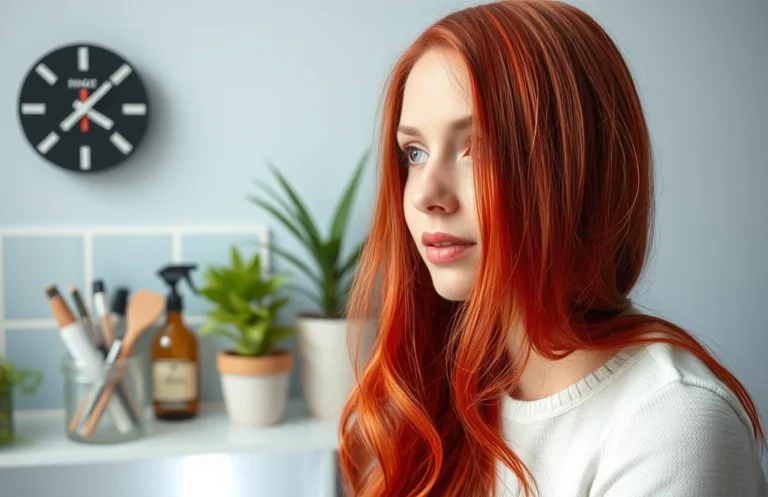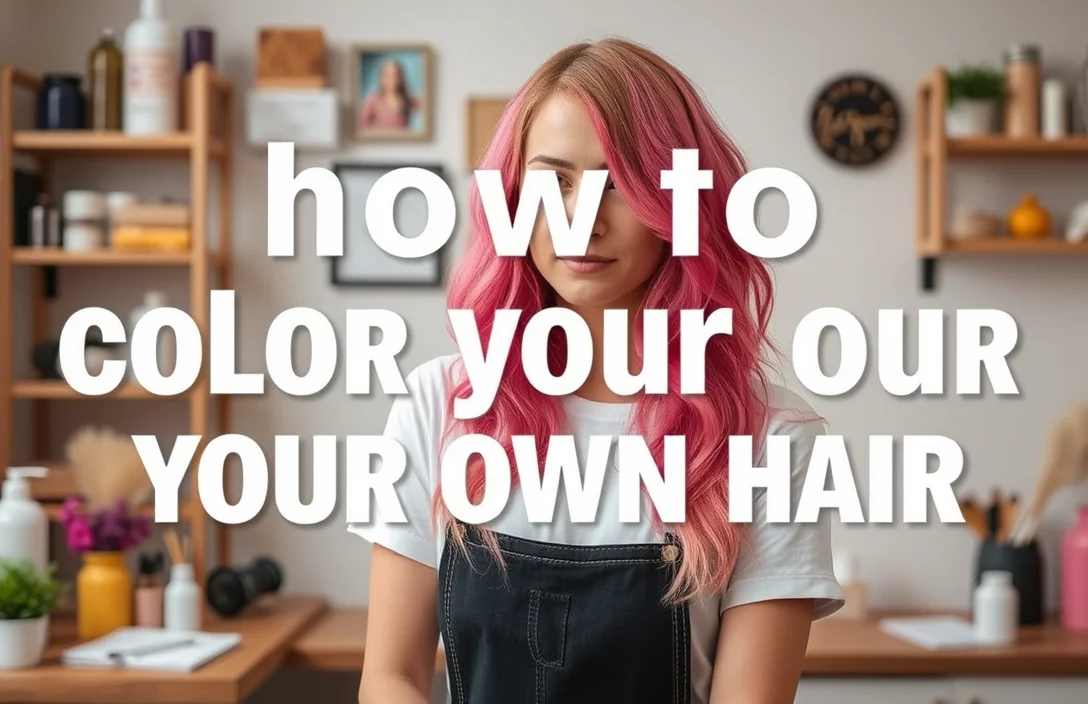
DIY Hair Color Magic: Transform Your Look from Home!
Sixty percent of women color their hair at home, showcasing the popularity of DIY hair coloring. With the right techniques, tools, and products, you can achieve salon-quality results without the hefty price tag. Knowledge and preparation are key to successfully coloring your hair.
Mastering hair color selection, application techniques, and post-color care will help ensure your success. Gather essential tools to begin, including gloves, a brush, and a mixing bowl, and follow instructions carefully for the best results.
Choosing the Right Hair Color
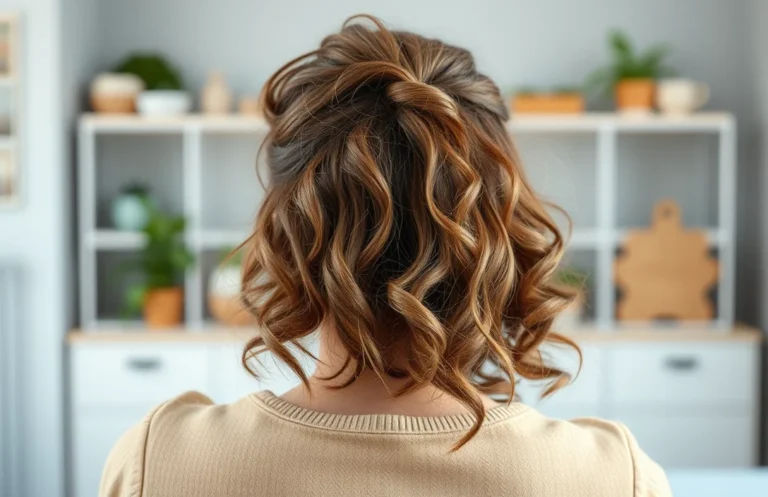
Selecting the perfect hair color starts with understanding your skin tone. Warm undertones often pair well with golden blonde, rich caramel, or warm browns, while cooler tones look best with ash blondes, cool browns, and deep blacks. Identifying your undertone will guide your color choices effectively, ensuring a flattering result.
- Identify your skin tone: Determine if your skin has warm, cool, or neutral undertones to find suitable shades.
- Consider your eye color: Matching hair color to your eye color can create a cohesive look. For example, blue eyes shine with cool tones.
- Evaluate maintenance level: Darker colors often require less upkeep, while vibrant shades may need frequent touch-ups.
- Experiment with temporary dyes: Try out temporary color options to test how a shade complements your features before committing long-term.
- Reflect on your style: Choose a color that aligns with your personal style and lifestyle, ensuring you feel confident and comfortable.
Exploring Types of Hair Dye Products
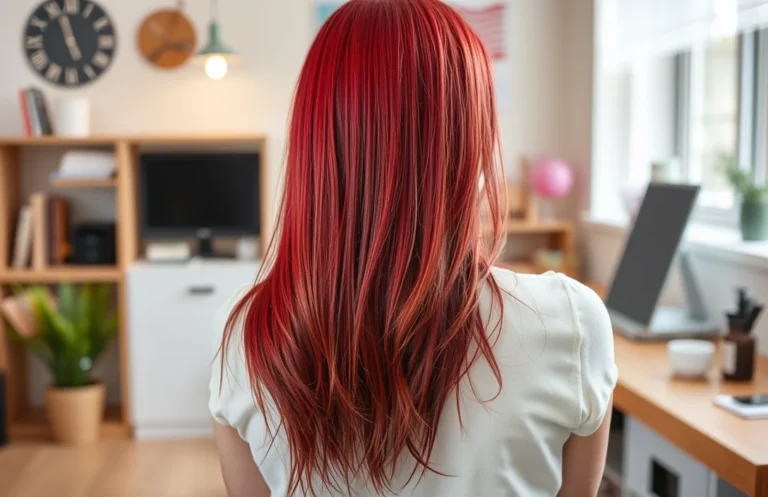
Permanent dyes provide long-lasting results by penetrating the hair shaft. They typically contain ammonia and require a developer for activation. Ideal for dramatic color changes, these products are perfect for covering gray hair and achieving vibrant shades. Keep in mind, they can be more damaging than other types, so proper care and conditioning are essential post-application.
Semi-permanent options last for several weeks and don’t contain ammonia, making them less damaging. These dyes coat the hair shaft rather than penetrate it, allowing for easier color removal. Perfect for trying out new shades or enhancing your current color, they gradually fade with each wash. This option is great for those who want to experiment without a long-term commitment.
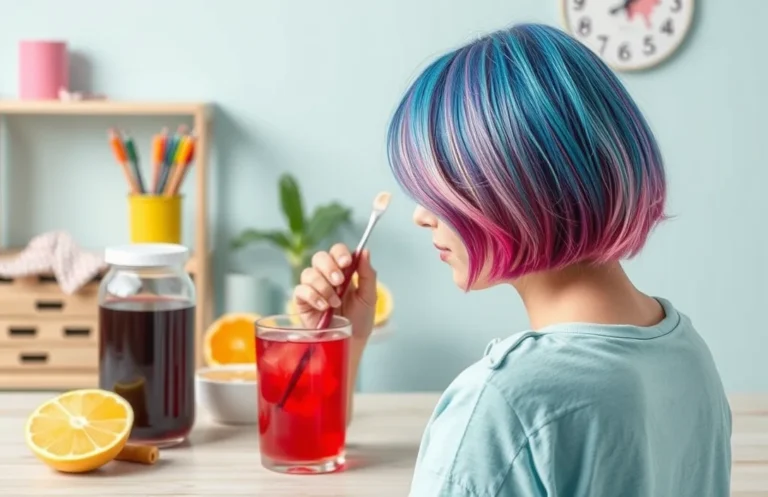
Temporary dyes offer a quick and easy solution for those looking to change their hair color for a short time. These products wash out after a few shampoos and are often used for special occasions or events. They usually come in spray or mousse forms, making application simple and mess-free. Consider this option if you want to add fun highlights or an entirely new color without any long-term effects.
Preparing Tools and Setup
Gathering essential tools enhances the hair coloring experience. Starting with the right equipment ensures successful application and minimizes mess. Below is a list of necessary items for your DIY hair color project.
- Coloring kit: Purchase a complete hair coloring kit, which includes dye, developer, and gloves. Kits often provide everything needed for optimal results.
- Application brush: Use a dye brush for even distribution of color. This tool helps to precisely apply the product, especially at the roots.
- Mixing bowl: Opt for a non-metal bowl to mix dye and developer. Metal can react with the chemicals, affecting the outcome.
- Protective cape: Wear a cape or old towel to shield clothing from stains. This simple step prevents unwanted discoloration of your attire.
- Timer: Keep a timer handy to track processing time. Following the recommended time ensures that the color develops properly.
- Shampoo and conditioner: Have color-safe shampoo and conditioner on hand for rinsing and aftercare. These products help maintain the vibrancy of your new hue.
- Towels: Use old towels to blot excess dye. This prevents any mishaps during the application process, keeping surfaces clean.
Preparing these tools creates a smooth and enjoyable hair coloring experience. Proper setup increases confidence and leads to beautiful results.
Executing the Step-by-Step Coloring Process
Apply the color systematically for even results. Start at the roots, where the hair is most resistant to color. Working in sections ensures that you cover every strand adequately, avoiding patches and unevenness. Use a fine-tooth comb to distribute the dye from root to tip, ensuring saturation.
- Section hair into four parts. Use hair clips to secure each section, making it easier to manage.
- Begin with the back sections. Apply the dye directly to the roots using an applicator brush, then comb through the length of the hair.
- Next, move to the front sections. Repeat the same technique, ensuring to cover any missed spots.
- Massage the dye into the hair. This helps in even distribution and activates the color.
- Set a timer for the recommended processing time. Avoid exceeding this duration to prevent damage.
Complete the process by rinsing thoroughly. Use lukewarm water until the water runs clear, followed by a color-safe shampoo and conditioner to lock in moisture and vibrancy.
Implementing Safety Precautions and Allergy Tests
Conducting allergy tests is essential before coloring hair. Skin reactions can occur, so testing a small area helps identify potential issues. Follow the steps outlined below for an effective allergy test.
- Choose a small patch of skin, preferably behind the ear or on the inner arm. Clean the area with soap and water, then dry.
- Mix a small amount of dye according to the instructions. Apply a thin layer of the mixture to the selected patch of skin.
- Allow the dye to sit for the recommended time, usually 48 hours. Avoid washing the area during this period to ensure accurate results.
- Check for any signs of irritation, redness, or swelling after the waiting period. If any reaction occurs, do not proceed with dyeing your hair.
- If no reaction is observed, proceed with confidence to color your hair. Always follow product instructions for optimal results and safety.
Remember that sensitivity can change over time. Regularly testing new products is advisable even if prior tests were negative. Prioritizing safety ensures a successful hair coloring experience.
Caring for Colored Hair
Maintaining vibrant color requires proper aftercare. Invest in color-safe shampoos and conditioners designed specifically for dyed hair. These products help preserve color while keeping hair moisturized. Make sure to wash your hair with lukewarm or cool water to prevent fading. Hot water can strip away color, leaving your hair dull and lifeless.
Limit washing your hair to two to three times per week. Over-washing can lead to color fading and dryness. In between washes, consider using dry shampoo to keep your hair looking fresh and voluminous. This method allows your color to last longer while maintaining a clean appearance.
Apply a deep conditioning treatment weekly. Nourishing masks can help restore moisture and shine, making your hair look healthy and vibrant. Look for products that contain ingredients like argan oil or shea butter, which are known for their hydrating properties.
Protect your hair from heat damage. Before using styling tools, apply a heat protectant spray to shield your colored hair from the damaging effects of high temperatures. Consider air-drying or using lower heat settings on styling devices to further minimize damage.
Avoid sun exposure on your hair. UV rays can cause color to fade quickly. When spending time outdoors, wear a hat or use hair products with UV protection to shield your color from the sun. This simple step can significantly extend the life of your lovely new hue.
Avoiding Common Mistakes in Hair Coloring
Planning ahead prevents many hair coloring issues. Before starting, ensure you have all necessary supplies: dye, gloves, applicator brush, and old towels. Skipping preparation can lead to messy results or even missed spots. Set aside enough time to avoid rushing through the process, which often causes errors.
- Ignoring patch tests leads to reactions. Always conduct a patch test at least 48 hours before applying the dye to your entire head. This helps identify any allergic reactions that could occur.
- Using incorrect application techniques causes uneven color. Start applying dye at the roots, working your way down to the tips. Section your hair to ensure even coverage.
- Overlooking timing guidelines results in unexpected colors. Follow the recommended processing time on the product’s instructions. Leaving the dye on too long can result in darker shades or damaged hair.
- Skipping aftercare steps can diminish results. After rinsing out the dye, use a color-safe shampoo and conditioner. This helps maintain vibrancy and hydration for your newly dyed hair.
- Neglecting to consult color charts often leads to dissatisfaction. Review the color chart provided with your dye to ensure your expectations align with the final result.
Maintaining awareness of these common mistakes enhances your DIY hair coloring experience. Make informed choices to achieve the look you desire while avoiding mishaps.
Quick Summary
- Choose the right hair color that complements your skin tone and natural hair color.
- Perform a patch test to check for allergic reactions to the dye.
- Gather all necessary tools, including gloves, dye, a bowl, and a brush for application.
- Follow the instructions on the dye package carefully for the best results.
- Section your hair before applying dye to ensure even coverage.
- Monitor the development time to avoid over-processing your hair.
- Rinse and condition your hair thoroughly after dyeing to maintain its health and shine.
Frequently Asked Questions
1. What supplies do I need to color my own hair?
To color your own hair, you’ll need a hair dye kit, gloves, a mixing bowl, an applicator brush, and a comb. Additionally, having an old towel, a cape or shirt you don’t mind staining, and a timer can help make the process smoother.
2. How do I choose the right hair color for my skin tone?
To choose the right hair color, consider your skin tone; warm tones often pair well with golden or reddish shades, while cool tones suit ash or platinum colors. If you’re unsure, consult a color wheel or seek advice from a professional stylist.
3. How can I prepare my hair for coloring?
Before coloring, ensure your hair is clean and dry. Avoid washing it the day before to allow natural oils to protect your scalp, and consider doing a deep conditioning treatment a week prior to enhance hair health.
4. How long should I leave the dye in my hair?
The processing time varies by product, so always follow the instructions on the dye package. Typically, it ranges from 20 to 40 minutes, but it’s crucial to conduct a strand test first to see how your hair reacts.
5. What should I do if I make a mistake while coloring?
If you make a mistake, don’t panic. You can use a color remover or clarifying shampoo to help lift the dye, or if it’s a minor issue, you might just need to adjust the color with a toner. Always consult a professional if you’re unsure.