Can You Curl Your Hair With Keratin Treatment?
Struggling with flat hair after a keratin treatment? You’re not alone, and the frustration is real because keratin is meant to smooth, so curls can seem like the “wrong” move. The good news is you can usually curl again, but timing and heat level matter a lot for keeping your results.
Keratin treatment can be curled again once the hair is fully cured, usually after 48 to 72 hours (check your brand’s instructions). The biggest wins are using a heat protectant, keeping your iron at low to moderate heat, and using a curl-boosting leave-in so waves reset instead of frizzing.
Can You Curl Your Hair With Keratin Treatment?
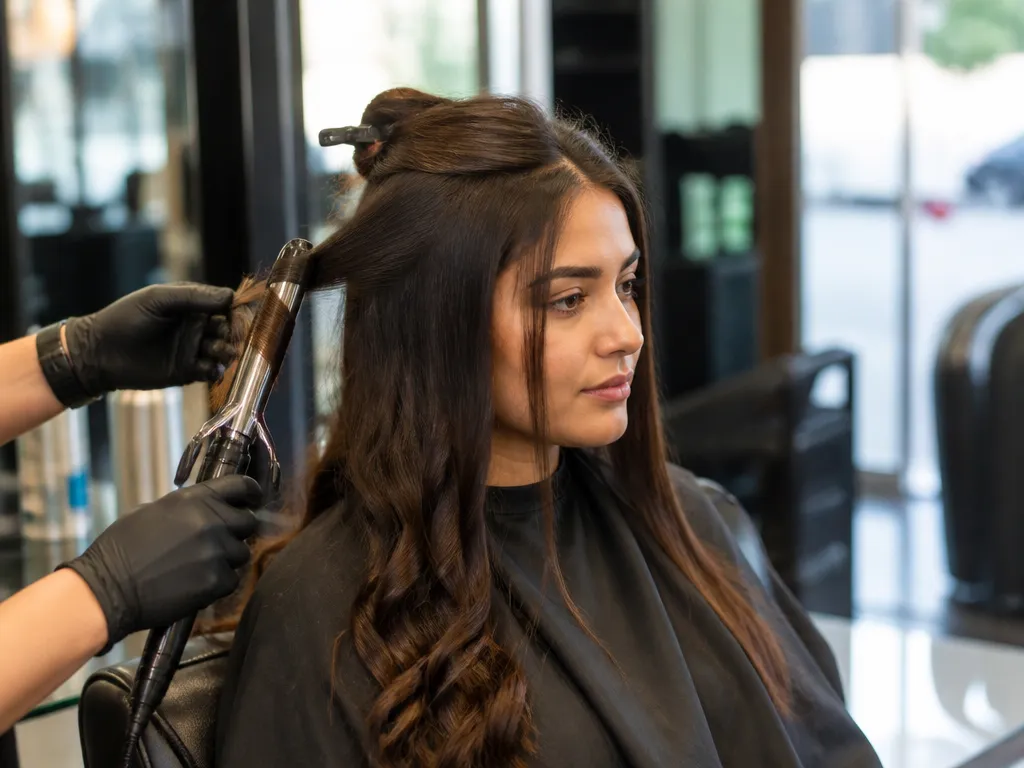
Keratin treatments can allow curls, but the curl shape is usually weaker than it would be on untreated hair, because many keratin services are designed to smooth and relax the hair cuticle. Curl retention depends heavily on how long it has been since the treatment, the exact formula used, and your hair’s natural curl pattern.
| Keratin service type | What it does to hair | Chance of holding curls | Best timing to curl |
|---|---|---|---|
| Brazilian blowout (smoothing) | Reduces frizz and softens wave, less extreme re-shaping | Medium to high, depending on your natural texture | Often sooner (commonly 48 to 72 hours), if your stylists’ directions allow |
| Protein “keratin” smoothing (bonding or strengthening) | Improves feel and alignment, can still straighten some curl | Medium | Usually safest after the first couple of days, when the hair is fully set |
| True keratin straightening (stronger permanent-style effect) | More consistent straightening and cuticle compression | Lower, curls may drop quickly | Wait longer if your instructions require, often closer to a week for best hold |
Timing affects curl retention because keratin-based smoothing relies on heat-setting, and the hair can stay more “malleable” right after the service. Early heat styling can re-flatten the hair or prevent the curl pattern from setting cleanly, especially on fine hair that is already easily weighed down.
In practice, you get the best results by matching your curl tool to your hair’s new texture. Coarser, naturally wavier hair can still form a visible S-pattern, while very tight curls often look more like loose bends after a strong smoothing service.
What “Keratin Treatment” Really Means
“Keratin treatment” is a broad label, and two people with the same wording on a receipt can have very different outcomes. A Brazilian blowout is usually focused on frizz control and gloss, while stronger straightening versions may use higher smoothing intensity, longer processing, or bonding-like mechanics that reduce how much spring your hair can hold.
Hair type also changes the odds. This is why smoother results are easier on oily to combination scalps and coarser strands, while dry or color-treated hair can feel coated faster, which can make curls slip even if the treatment is mild.
Stylist tip: follow your appointment’s exact “no water, no heat, no wash” directions, because that window is what determines when curls can set with the most reliability.
Check Your Hair And Treatment
Keratin smoothing can be curled again, but only after the treatment is fully cured and the formula type is clear. Curling too soon can make the style drop faster and can increase the risk of frizz returning while the bonds are still stabilizing.
Start by checking two things: your hair porosity and what kind of keratin process you had (at-home smoothing versus salon professional). Porosity tells you how quickly your hair “grabs” moisture and how evenly it dries, which affects curl hold and heat safety.
Porosity Cues (So You Don’t Guess)
Fast frizz with a rough, thirsty feel usually points to higher porosity, while heavy, coated-feeling hair can point to buildup or lower porosity. Coated strands also take longer to dry through, which matters because incomplete drying can make both straightening and curling look uneven.
Next, identify the smoothing type on your paperwork or packaging. Look for “formaldehyde-free” labeling for at-home products, while many salon keratin services are professional-only and sometimes marketed with stricter application steps.
| What you’re holding | How to confirm | Best curl timing (rule of thumb) |
|---|---|---|
| At-home “keratin” smoothing | Check label directions and any curing time listed | Follow the exact stated cure time before heat styling |
| Salon keratin smoothing | Ask what product system was used and how long to wait | Wait longer if your stylist’s instructions are more cautious |
| Botanical smoothing blends | Check ingredient panel for smoothing polymers and the specific heat step | Treat it like keratin until it’s fully cured |
For example, if you recently had a deep condition and your hair feels “soft but coated,” you may need more thorough rinsing and drying before curling. This is especially true for curly hair types (3A to 4C) where curl pattern can look tight at first, then loosen once the surface layer is disturbed.
Confirm your hair is fully cured using a touch test and a look test. Touch test: hair should feel dry to the core (not just the outside) and should not feel tacky. Look test: strands should look smooth and not have any damp sheen near the roots or mid-lengths.
Patch test reminder: if you plan to use any new heat-protectant spray, try it on a small hidden section 24 hours before you style. This matters most for sensitive scalps and dyed hair.
When you should wait longer: color-treated, bleached, or previously compromised strands. Bleach and highlights can change porosity quickly, so “fully cured” can still mean fragile, and heat styling may cause faster dryness.
Hair type matters for the technique you’ll use next: fine hair usually loses curl sooner and can be weighed down by heavy styling creams, while thick, coarse hair can hold longer but needs heat evenly distributed. Knowing your porosity and cure status keeps your curl outcome more consistent.
Heat-safe Ingredients To Look For
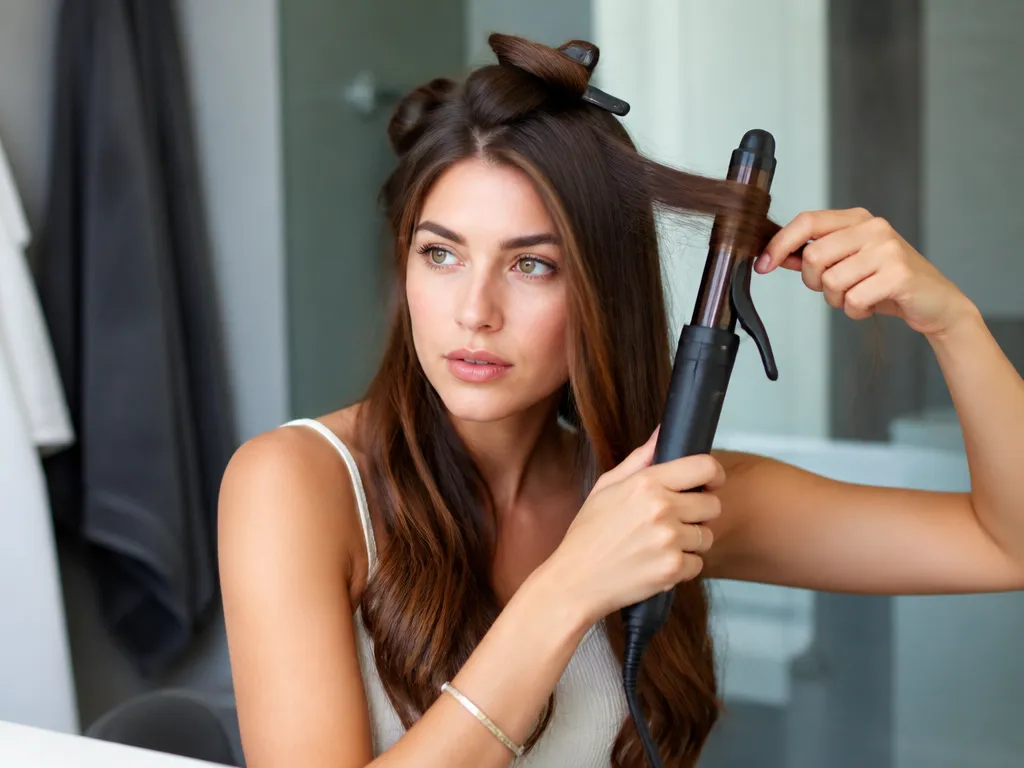
Keratin treatments do not make hair “curl-proof,” but the right post-treatment products can lock in curl shape while reducing heat damage. Prioritize heat protectants with film-forming polymers, conditioners that reinforce bonds without overloading protein, and gentle cleansing that does not strip your treatment away.
For heat protection, look for film formers and polymers like polyquaternium-10, VP/VA copolymers, acrylates copolymers, and dimethicone or amodimethicone. These ingredients coat each strand, improve slip, and help even out how heat transfers during curling.
For bond support and conditioning, hydrolyzed proteins such as hydrolyzed keratin, hydrolyzed silk, and hydrolyzed wheat protein help hair feel stronger, especially if your hair is prone to dryness. Too much protein can make hair feel stiff, brittle, or overly “squeaky,” which can flatten curls. If your hair feels rough after washing, reduce protein-heavy leave-ins and lean more on moisture ingredients like glycerin and panthenol.
Curl definition helpers are usually moisture plus light slip. Look for glycerin (humidity-friendly hold), panthenol (softening and humectant support), and lightweight silicones such as dimethicone or cyclopentasiloxane in leave-ins or heat protectants. This combo is especially helpful for wavy to curly hair types because it reduces flyaways without making curls heavy.
| Item | Amount/Specification | Notes |
|---|---|---|
| Heat protectant polymers | Film-forming polymers (ex: polyquaternium-10, acrylates copolymers) | Helps hold curl shape and reduces roughness from hot tools |
| Bond support (protein) | Hydrolyzed proteins in moderation | Fine to medium hair can get overloaded faster than coarse hair |
| Moisture for definition | Glycerin + panthenol (look for multiple humectant/conditioner types) | Best for frizz-prone waves to coils |
| Lightweight slip | Low-heavy silicones (ex: dimethicone, amodimethicone, cyclopentasiloxane) | Improves curl clumping and shine without as much weight |
| Keratin-friendly wash | Sulfate-free surfactants (ex: sodium cocoyl isethionate, decyl glucoside) | Helps reduce premature fading, especially for color-treated hair |
Patch test tip: Apply a small amount of your new heat protectant or curl product behind your ear or on the inner forearm for 24 hours, especially if you have fragrance sensitivity or scalp irritation.
What to avoid is where most people slip up. Steer clear of alcohol-heavy styling gels and sprays (often listed as high concentrations of denatured alcohol) because they can dry strands and increase frizz after heat. Avoid harsh sulfates like sodium lauryl sulfate and sodium laureth sulfate, and be cautious with strong clarifying chelators when your treatment is still fresh, since stripping can shorten the smoothing results.
Product order matters for heat protection and definition: apply your keratin-safe cleanser (scalp), then conditioner (mid-length to ends), then a leave-in or curl cream, finish with a heat protectant before the hot tool, and seal with a light finishing spray only if you need extra hold. Evening or next-day touch-ups should still start with a mist of water or refresher to re-activate humectants, then add heat protectant again if you plan to re-style with a tool.
When To Curl After Keratin
Wait for your keratin treatment to fully cure before using any curling iron or wand, or you can get straight patches, frizz rebound, and less lasting shine. The safest default is 48 to 72 hours after your appointment. If your stylist gave a specific window, follow that cure timeline over the general range.
Keratin systems cure differently based on bond strength, formula type, and how much heat was used during the service. For that reason, the “best” time is the one tied to your exact treatment instructions.
| Situation | Wait Time Before Heat | Why It Matters |
|---|---|---|
| Standard keratin smoothing | 48 to 72 hours | Lets the treatment settle and reduces curl drop |
| Stylist provided a cure window | Use that exact number of days | Formula-specific cure is more reliable than general advice |
| Very fine or easily over-processed hair | 72 hours | Lower tolerance for heat can cause dryness faster |
“If you feel stiffness or see product residue at the roots, wait longer. Curling over uncured residue increases uneven texture.”
Heat plan should be conservative, especially for oily to combination scalps where product buildup can make hair feel coated. Start with low to moderate heat targets and only increase if the curl fails after a couple seconds.
Tool choice changes the outcome because wand barrels and curling irons transfer heat differently. A wand creates a more natural, tapered bend, while a clamping curling iron forms a more uniform ring, which can look smoother on thick hair after keratin.
Hair prep is where curls go right or wrong. Curl on fully dry hair, with strands comb-through evenly so heat contacts every section at the same level.
For curls that last and protect the keratin finish, keep the process quick: clamp or wrap, hold briefly, release, then let hair cool fully before brushing. For maintenance, use a flexible, humidity-resistant hairspray and avoid touching curls for 10 to 15 minutes so they set without frizz.
Curling Method Step By Step
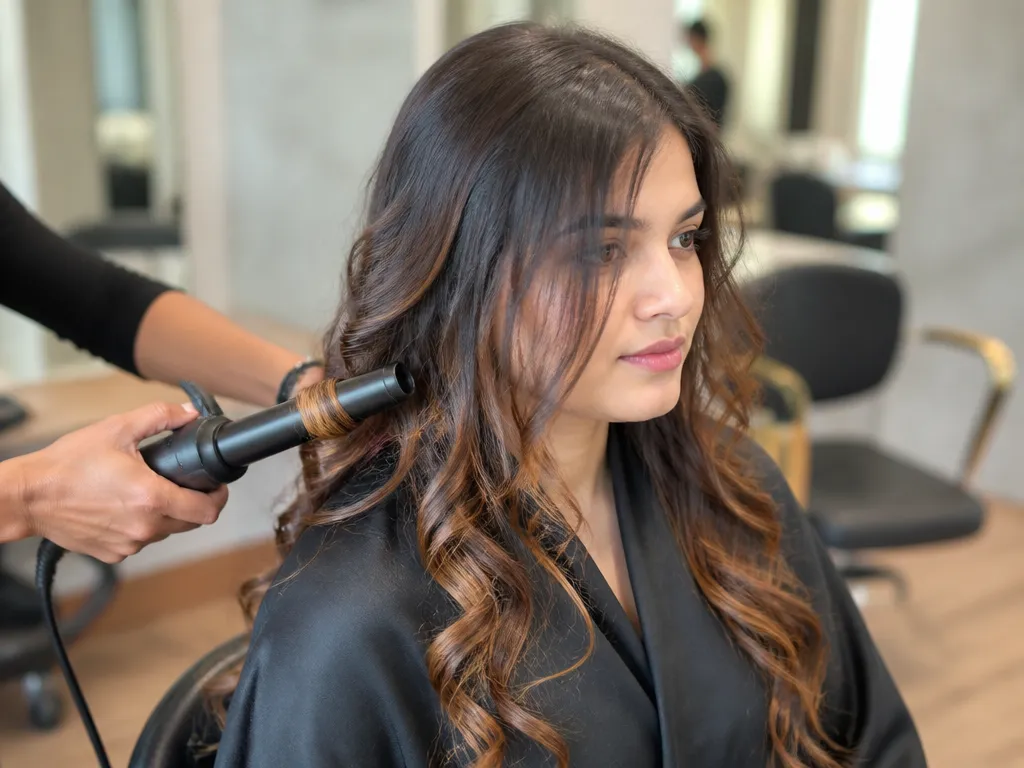
Keratin-treated hair has a smoother cuticle that resists curls more than natural hair. To achieve a lasting hold, use a combination of low-to-medium heat and a specific cooling phase to lock the shape.
Prep And Curling Technique
Morning styling begins with a cleanse-free refresh. Mist the hair with a light blend of water and a sulfate-free leave-in conditioner to add grip. Apply a heat protectant spray to every section. This layer prevents the heat from breaking down the keratin bonds too quickly.
Keratin-safe Product Picks
Sulfate-free and sodium chloride-free formulas protect the longevity of your smoothing treatment by preventing the premature stripping of the protein coating. Using the wrong ingredients can dissolve the keratin layer, leading to frizz and a loss of shine within weeks.
Essential Styling &Amp; Protection
Heat protectants are mandatory when using curling irons on treated hair to prevent thermal damage to the newly sealed cuticle. Choosing between a spray or a cream depends largely on your hair’s texture and porosity.
Stylist tip: Always apply heat protectant to damp hair before blow-drying, and re-apply a light spray to dry hair immediately before using a curling wand.
Product Comparison Guide
| Product Type | Key Ingredient to Look For | Best For | Budget Option |
|---|---|---|---|
| Leave-in Conditioner | Panthenol or Glycerin | All hair types | SheaMoisture ($12) |
| Heat Protectant | Dimethicone or Silicates | Daily styling | Tresemmé ($7) |
| Curl Cream | Argan or Coconut Oil | Thick/Coarse hair | Cantù ($8) |
Ingredients To Avoid
Sodium chloride (salt) is the primary enemy of keratin treatments because it acts as an abrasive that pulls the treatment out of the hair shaft. Many traditional clarifying shampoos rely on this ingredient to deep clean, making them dangerous for your post-treatment routine.
Strong sulfates like Sodium Lauryl Sulfate (SLS) also strip the hair of essential oils and the keratin coating. While heavy rebuilding masks are tempting for damaged hair, avoid using them in the first two weeks after your treatment. These intense formulas can sometimes disrupt the smoothing bond before it has fully settled.
Common Mistakes And Fixes
Curling hair treated with keratin requires precise temperature control and timing to prevent premature breakdown of the protein bond. Using high heat or styling damp strands often results in permanent texture alteration or heat damage.
Improper Heat Application
Symptom: Curls lose their shape quickly, or hair feels brittle after styling. Cause: Excessive heat settings above 350 degrees Fahrenheit degrade the keratin coating and strip natural moisture. Fix: Always use a heat tool with an adjustable digital display. Keep the temperature between 280 and 325 degrees Fahrenheit to balance style retention with hair integrity.
Styling On Damp Strands
Symptom: Hair emits a hissing sound, produces steam, and develops an uneven, frizzy texture. Cause: Trapping moisture inside the hair shaft while the cuticle is still softened from the treatment leads to thermal shock. Fix: Ensure hair is 100 percent dry before picking up a curling iron or wand. Use a blow dryer on a cool or low-heat setting to remove any remaining moisture at the roots.
Incorrect Product Layering
Symptom: Stringy, weighed-down waves that fall flat within an hour. Cause: Applying heavy oils or silicone-based serums before curling creates a greasy barrier that prevents the hair from holding a shape. Fix: Apply a lightweight, alcohol-free thermal protectant spray to damp hair before drying. Use texture sprays or light-hold hairspray only after the hair has cooled completely.
Troubleshooting Texture Issues
Esthetician tip: If you notice uneven wave patterns or hair that feels gummy and stretches like elastic when wet, cease all heat styling immediately. These are signs of chemical or heat damage that require professional repair from your original stylist.
Diy And Budget-friendly Alternatives
Heat-free styling methods preserve the longevity of a keratin treatment by avoiding the thermal stress that gradually breaks down smoothing proteins. These techniques rely on physical tension and moisture evaporation to set the hair into a desired shape without compromising the integrity of the treatment.
Non-heat Styling Techniques
Foam rollers and flexi-rods provide consistent, lasting curls on keratin-treated hair because they do not require high temperatures to restructure the hair fiber. To achieve the best results, start with hair that is about 80 percent dry, as completely wet hair will not set properly and damp hair remains too fragile.
Budget-friendly Product Strategy
Drugstore brands offer effective heat protectants and styling creams that work just as well as luxury options when applied correctly. Focus on lightweight formulas that contain silicones like dimethicone, which create a protective barrier against humidity without weighing hair down.
Esthetician Tip: When using drugstore products, layer a lightweight leave-in conditioner followed by a small amount of curl cream. This combination provides the necessary hold for heat-free sets while keeping the hair hydrated and frizz-free.
| Product Type | Budget Option | Key Ingredient |
|---|---|---|
| Heat Protectant | Tresemmé Thermal Creations | Hydrolyzed Silk |
| Leave-in Conditioner | SheaMoisture Weightless | Argan Oil |
| Curl Cream | Cantu Shea Butter | Shea Butter |
Refreshing Curls Without Stripping
Reviving curls on day two requires a gentle touch to avoid washing away the smoothing treatment. Spritz the hair lightly with water mixed with a tiny amount of leave-in conditioner, then scrunch the ends to reactivate the shape. Avoid alcohol-based hairsprays or heavy gels, as these ingredients can dry out the hair and cause premature degradation of the keratin coating.
Quick Summary
You can successfully curl your hair after a keratin treatment, but timing is essential to avoid compromising the smoothing results. Most professional services require a waiting period of 48 to 72 hours before using any heat tools, as the hair remains malleable while the treatment sets. Using heat styling too early can lead to permanent flattening or uneven texture. Because keratin treatments reduce the hair cuticle, your natural curl pattern may appear weaker or looser than usual, making it important to manage your expectations regarding how long your curls will actually hold.
To maintain your style, keep your curling iron temperature between 280 and 325 degrees Fahrenheit to prevent frizz and accidental re-straightening. Always apply a heat protectant before styling and consider using a curl-enhancing leave-in product to help your strands maintain shape without the stiffness of heavy buildup. Your specific hair porosity and the type of smoothing formula used will ultimately dictate how well your hair responds to heat. The most critical step for success is adhering strictly to your stylist’s specific directions regarding washing and heat exposure during the initial curing phase.
| Factor | Recommendation |
|---|---|
| Waiting Period | 48 to 72 hours minimum |
| Heat Setting | 280 to 325 degrees Fahrenheit |
| Product Choice | Sulfate-free shampoo and curl-enhancing leave-in |
Beauty Routine Cheat Sheet
One Thing To Stop Doing Immediately
Stop using shampoos containing sulfates, as these harsh detergents strip the keratin coating from your hair and drastically shorten the longevity of your smoothing treatment.
Expected Timeline For Results
You should wait at least 48 to 72 hours after your salon service before applying any heat. If you follow the maintenance steps of using sulfate-free products and low heat, your style should remain consistent for the duration of the treatment, though you may notice the curl hold improves as the bonds stabilize further after the first week.
Frequently Asked Questions
Can You Curl Hair After A Keratin Treatment?
Yes, you can curl hair after a keratin treatment, but you must wait at least 72 hours to allow the bonds to set properly. The curls will likely be looser and may not last as long as they would on untreated hair.
How Long Do I Have To Wait To Wash My Hair After Keratin?
You should wait 3 to 4 days before washing your hair to ensure the treatment has fully bonded to the hair cuticle. Avoid sweating or tying your hair up during this initial period.
Will Curling Iron Damage Keratin Treated Hair?
High heat can strip the treatment, so you should use a temperature setting under 325°F. It is always smart to apply a heat protectant spray before using any hot tool.
Can I Curl My Hair 3 Days After Keratin?
Three days is the minimum safe window to start styling your hair. Just ensure your hair is completely dry before applying any heat.
Is It Better To Straighten Or Curl After Keratin?
Straightening is usually easier because the treatment already relaxes the hair structure. Curling requires more effort and careful heat management to achieve a defined shape.

- Temporary Hair Color Spray: Application, Longevity, and Removal - September 22, 2026
- 10 Best Washable Hair Dye Sprays for Dark Hair That Actually Show Up - September 22, 2026
- Washable Hair Dye Spray vs. Hair Chalk: Which Is Better? - September 22, 2026